How to Replace a Water Filter Cartridge: Step-by-Step Guide
August 22, 20213 min read
Replacing a water filter cartridge is one of the most important maintenance tasks you can do for your home’s water quality — and it’s simpler than most people expect. Here’s a clear guide for the most common filter types in Australian homes.
Different filter systems use different cartridges and replacement procedures. Check your system’s model number before ordering a replacement cartridge — using the wrong cartridge can reduce filtration effectiveness or cause leaks. If you’re unsure, call us on 1800 789 781 and we’ll identify the right cartridge for your system.
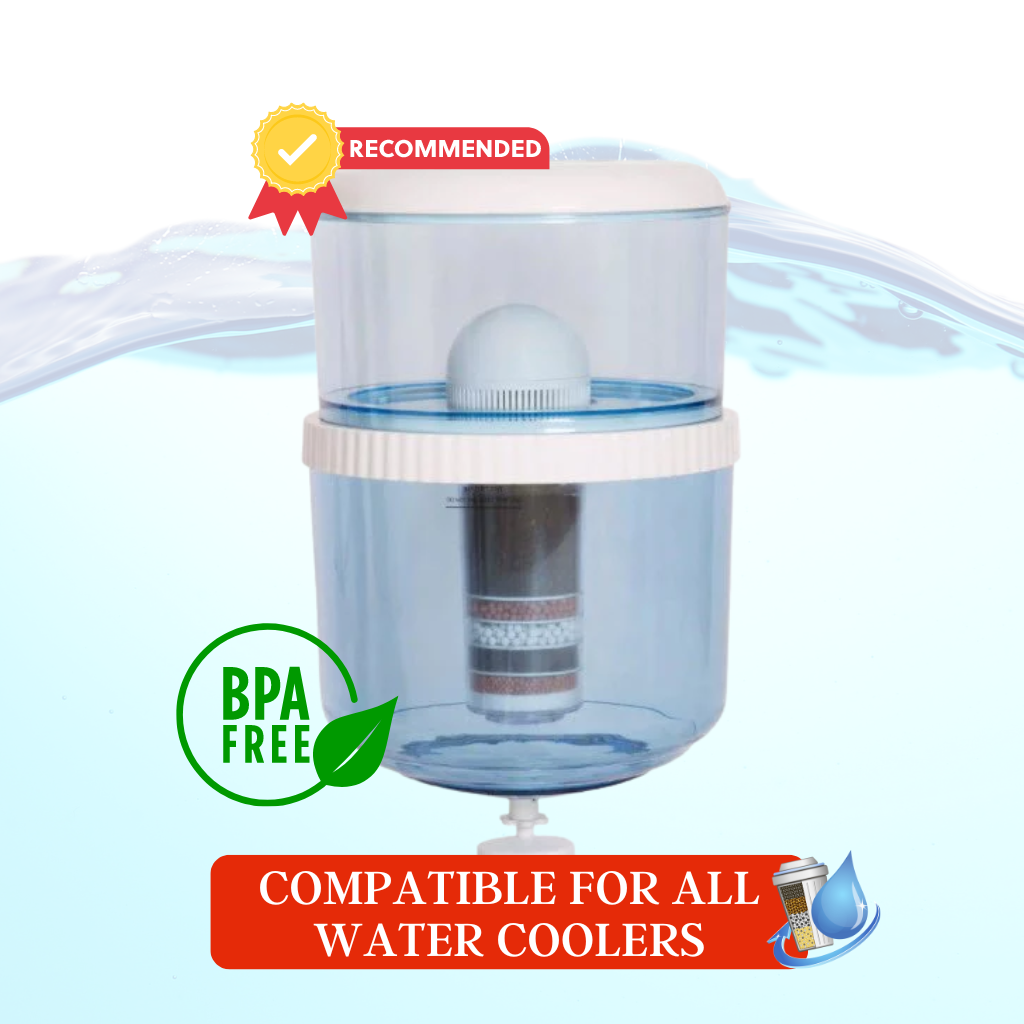
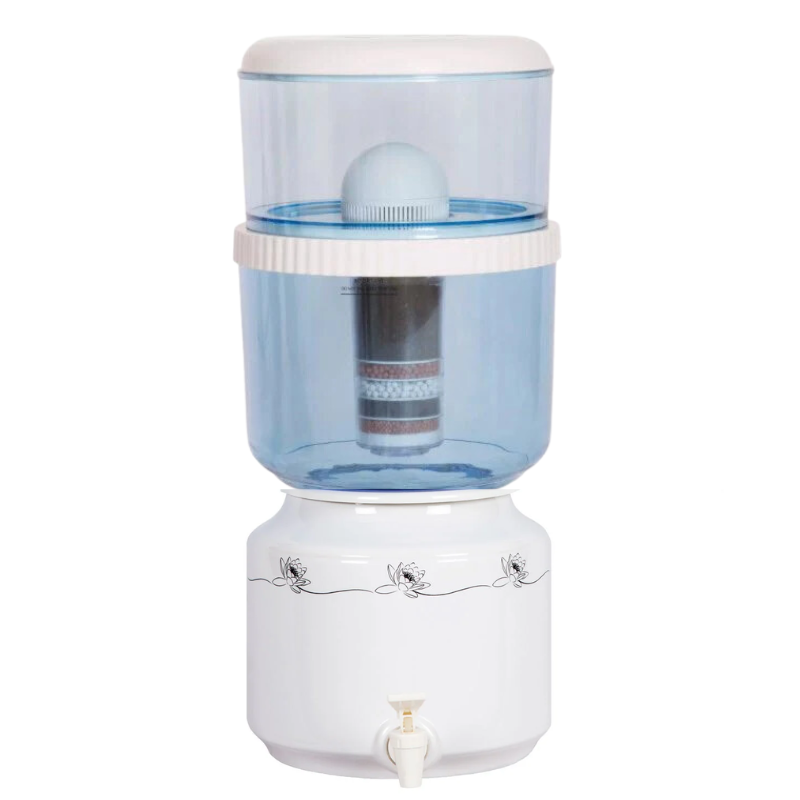
Replacing a Benchtop or Countertop Filter Cartridge
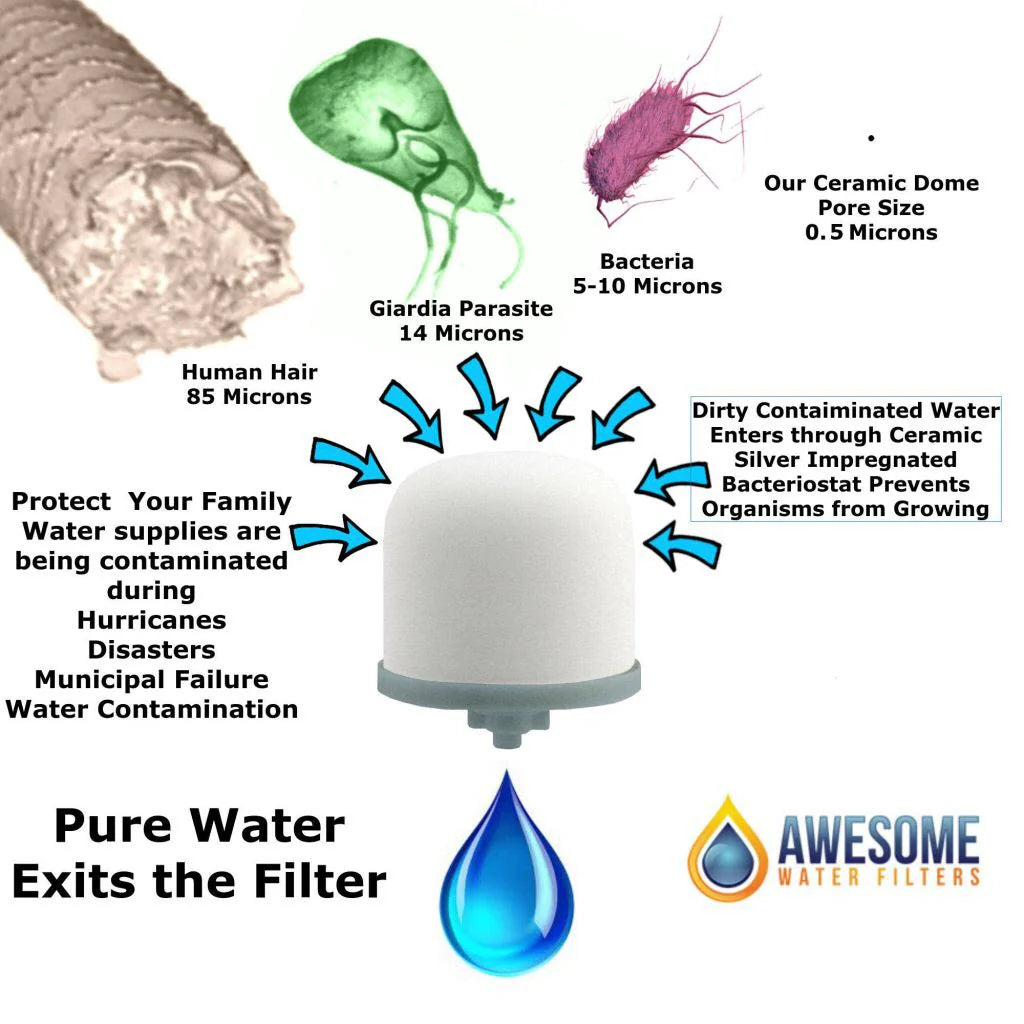
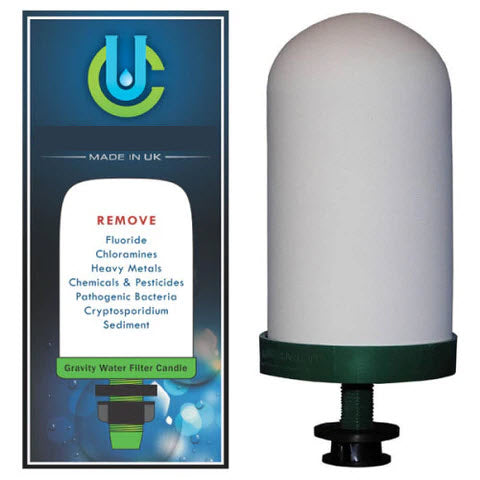
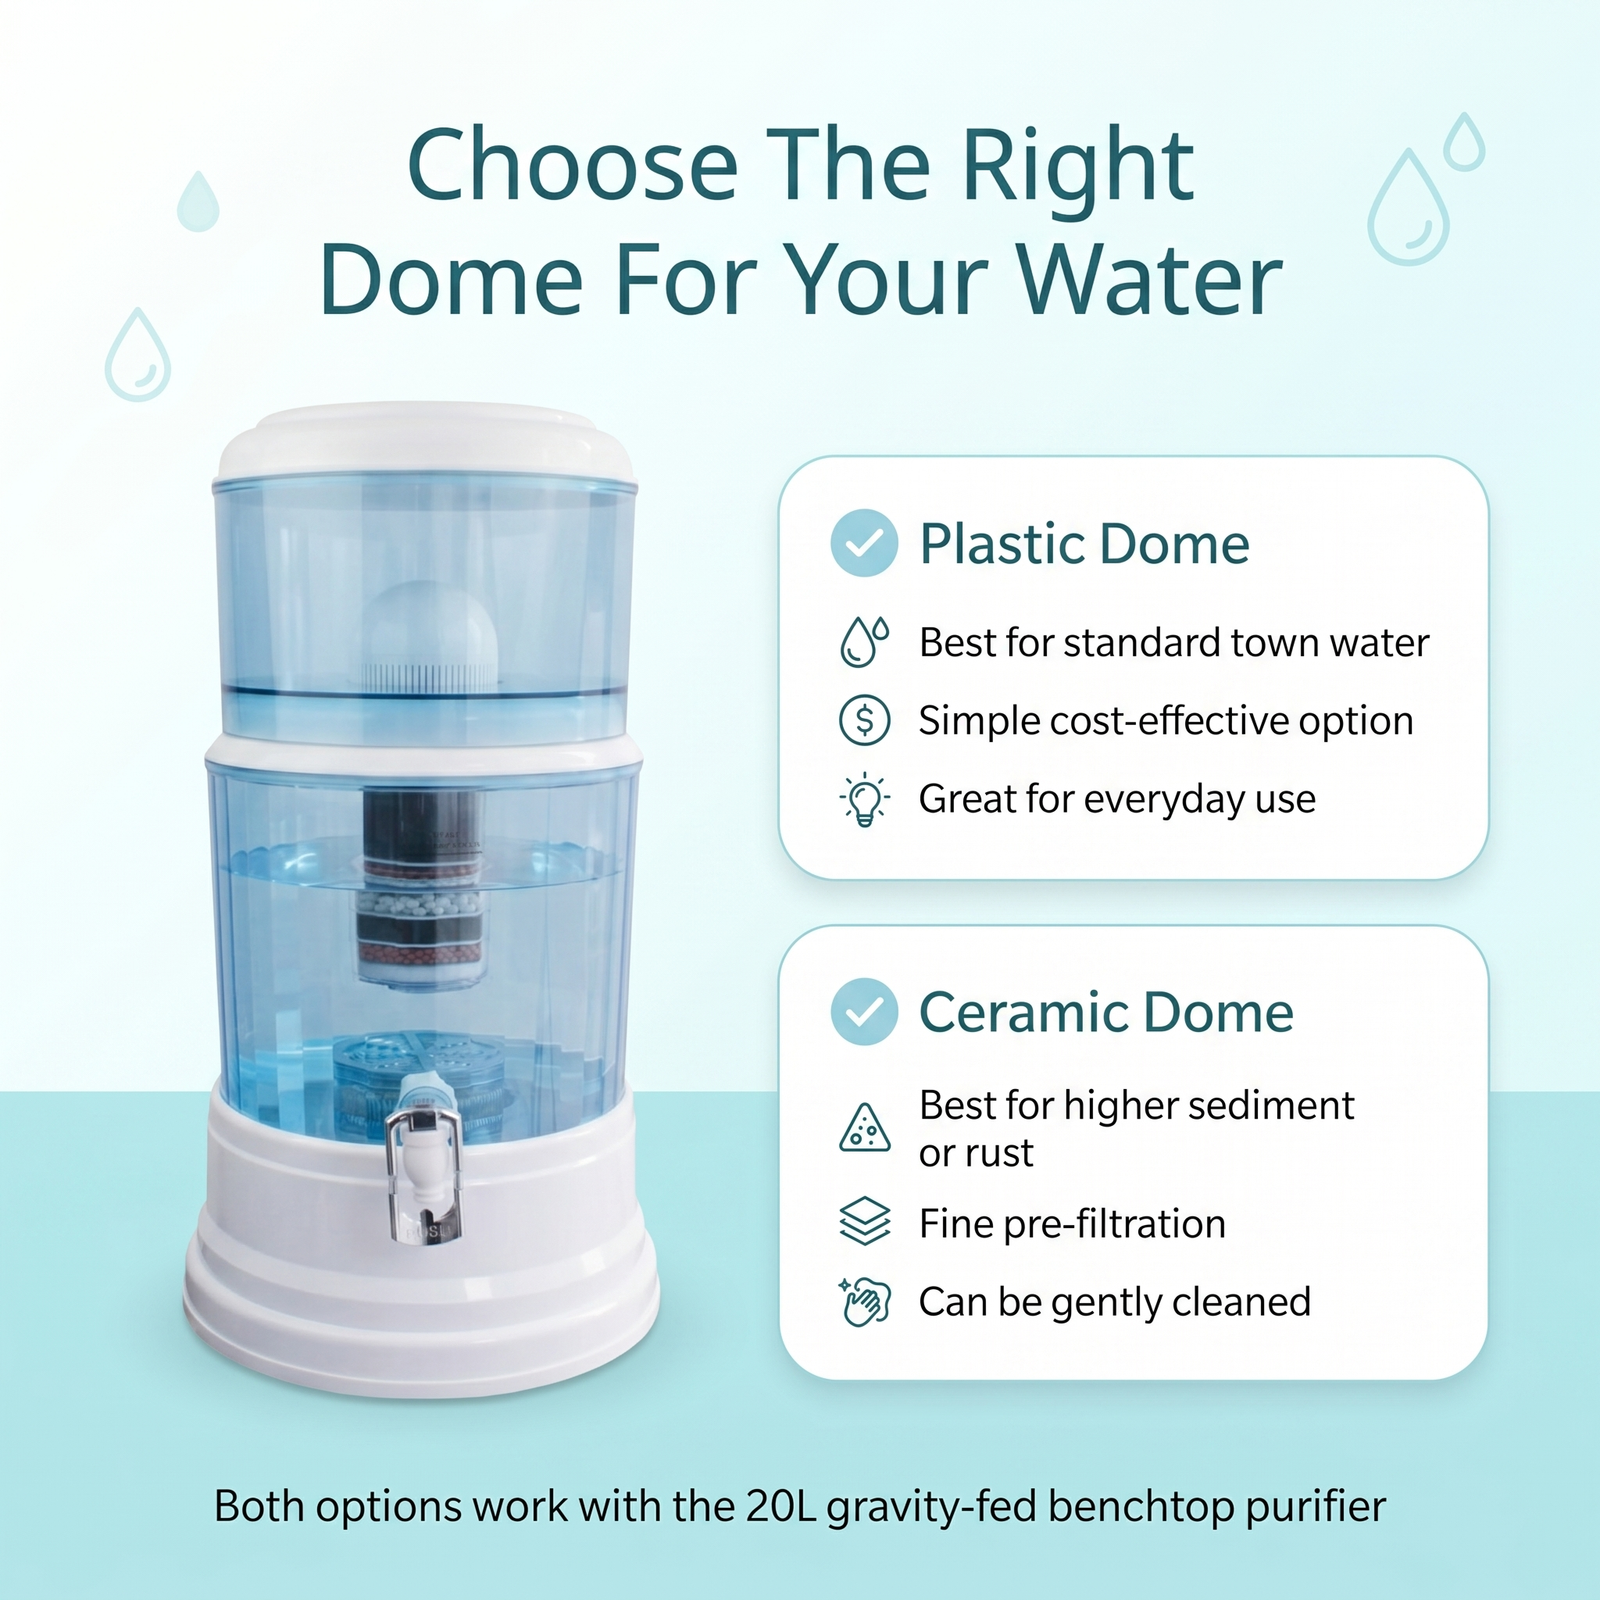
Most benchtop filters (including our 8-stage KDF systems) use a gravity-fed ceramic or multi-stage cartridge. Replacement is straightforward:
Remove the upper chamber and take out the old cartridge.
Rinse the housing with warm water.
Insert the new cartridge, ensuring it seats correctly on the outlet spigot.
Reassemble and flush 1–2 litres through before drinking.
Do I need a plumber to replace my filter cartridge?
No — most filter cartridge replacements are DIY-friendly and require no plumbing knowledge. The steps above cover the most common systems. If you’re unsure, call us on 1800 789 781.
Where can I buy replacement filter cartridges in Australia?