How to Change a Water Filter or Purifier Cartridge: Step-by-Step
August 04, 20213 min read
Changing your water filter cartridge is one of the most important maintenance tasks you can do — and it’s simpler than most people expect. Here’s a practical guide covering the most common filter types in Australian homes.
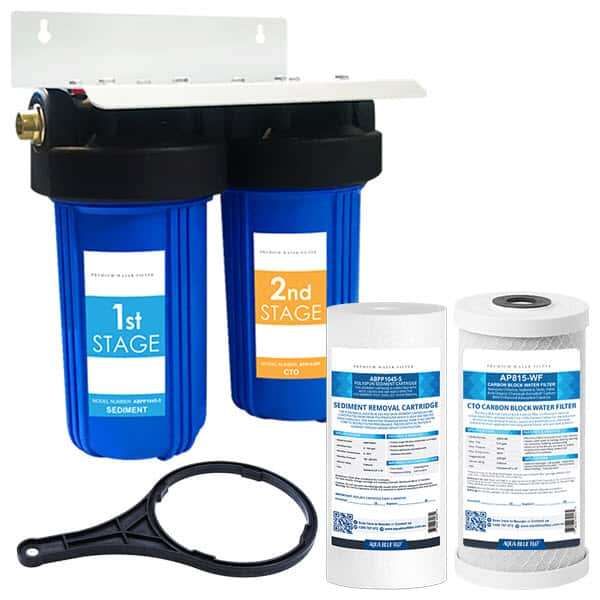
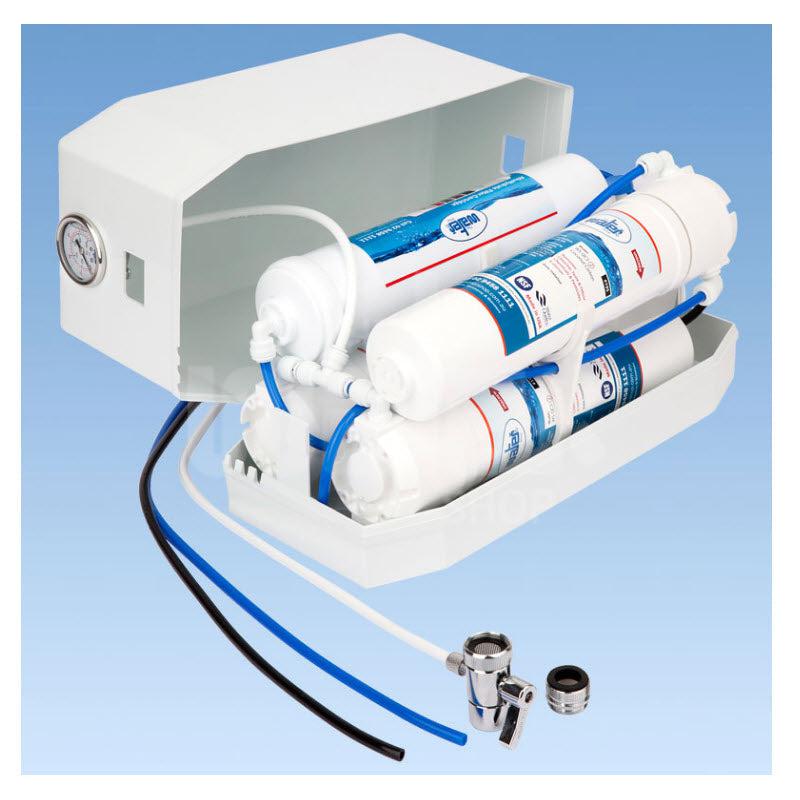
Close the storage tank ball valve (quarter turn clockwise).
Open the RO faucet to release system pressure.
Place a shallow tray under the filter housings to catch spilled water.
Unscrew the filter housings from the cap (use a housing wrench if needed).
Remove old cartridges. Inspect O-rings — replace if cracked or deformed. Lubricate with silicone grease.
Clean housings with warm soapy water and rinse thoroughly.
Insert new cartridges and reassemble housings hand-tight.
Turn the feed water supply back on and check for leaks.
Open the RO faucet — you should see a steady trickle within a few minutes.
Flush several litres through the system before opening the storage tank valve.
Open the storage tank valve and allow the tank to refill (2–4 hours).
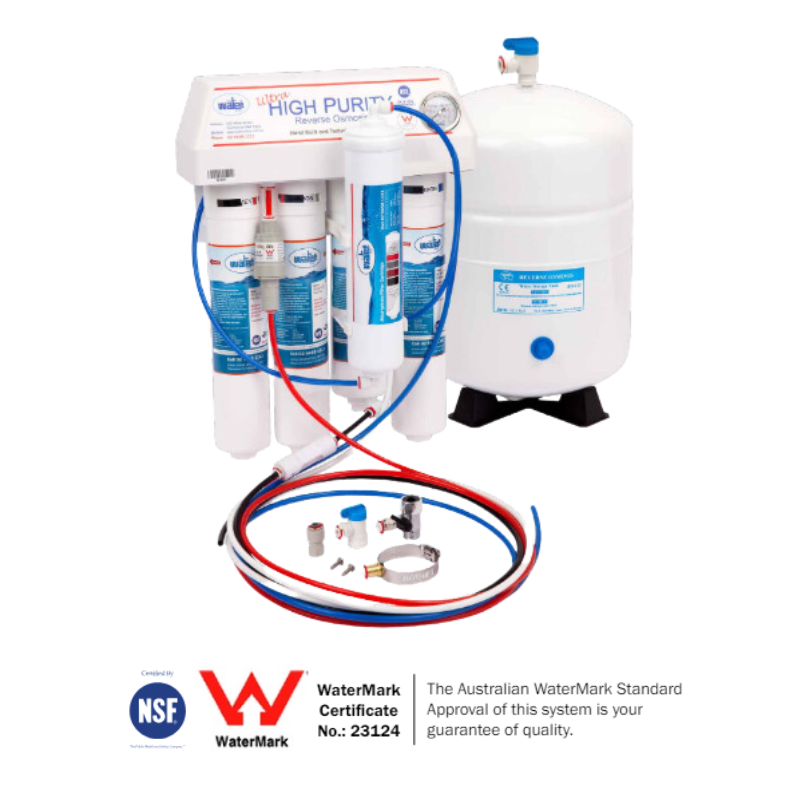
Replacing the RO Membrane
The membrane is replaced less frequently (every 24 months) and requires disconnecting the membrane housing tubing. Push down on the locking ring at each tube fitting to release the tubing. Unscrew the membrane housing cap, remove the old membrane (needle-nose pliers may help if it’s been in place for years), clean the housing, and insert the new membrane with the O-ring end facing the cap. Reassemble and reconnect tubing, pushing each tube firmly into its fitting until it locks.
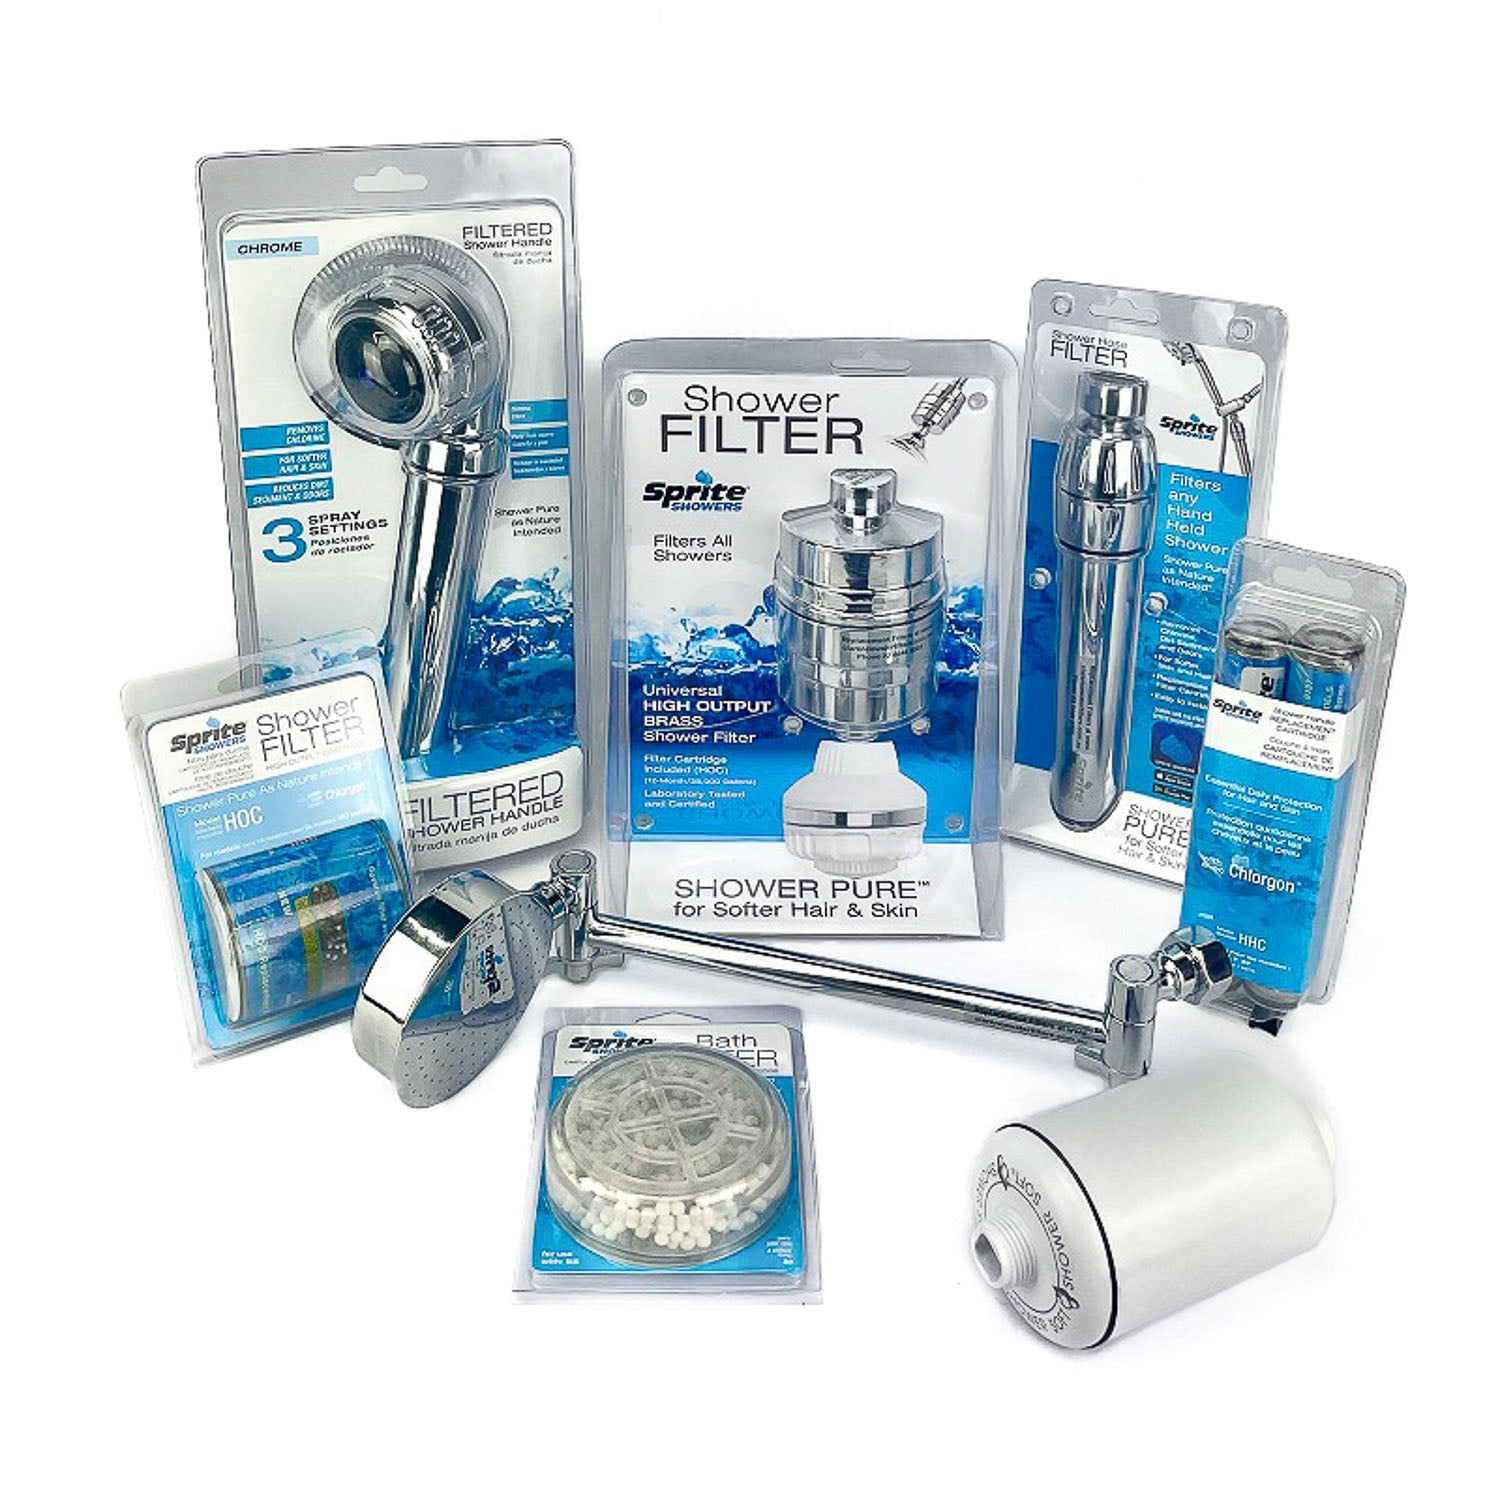
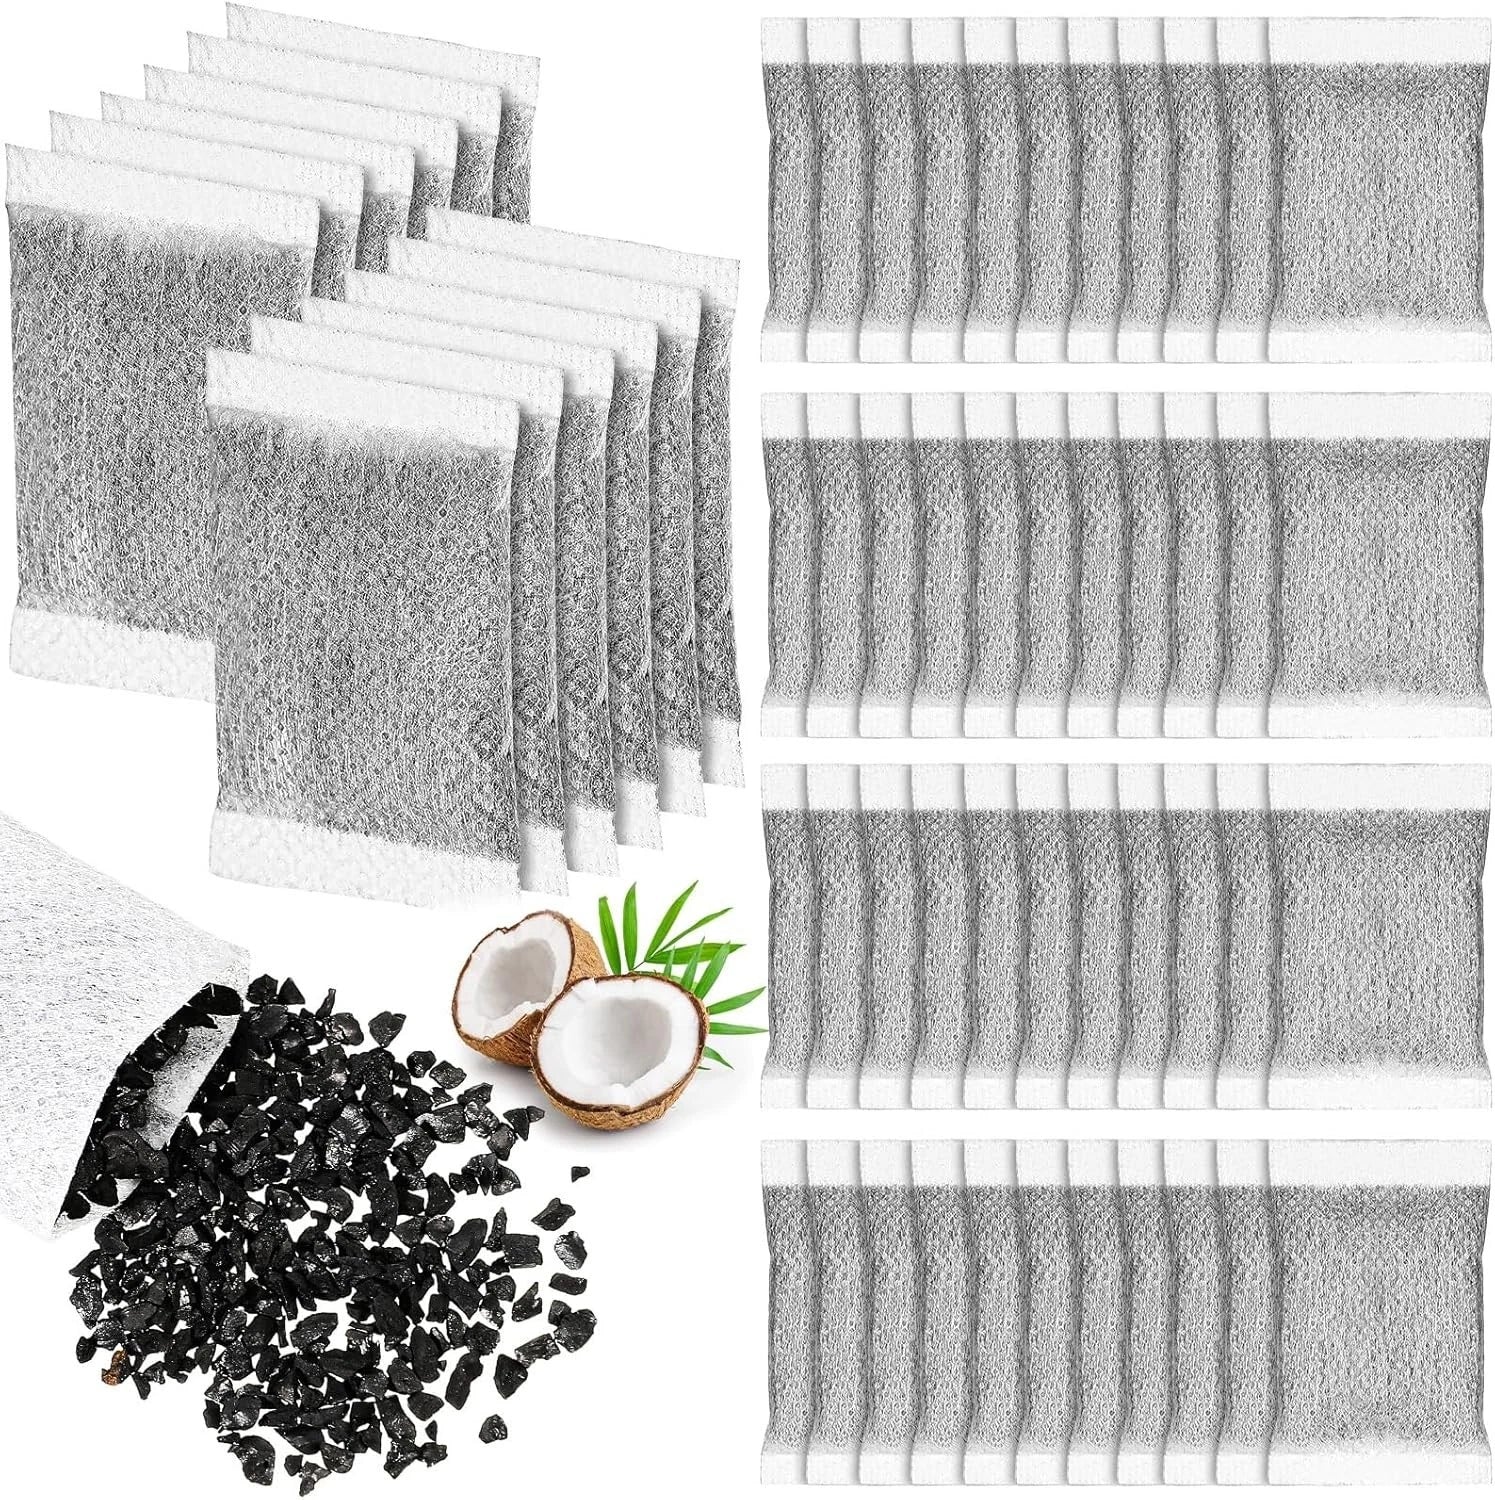
Check your system’s manual for the cartridge model number, or measure the existing cartridge (diameter and length). The most common whole house sizes are 4.5" x 10" (Big Blue) and 2.5" x 10" (slim line). Call us on 1800 789 781 if you’re unsure.
Do I need a plumber to change my water filter?
No — most filter cartridge changes are straightforward DIY tasks requiring no plumbing knowledge. The steps above cover the most common systems. If you’re unsure, call us on 1800 789 781.
Where can I buy replacement water filter cartridges in Australia?
We stock a full range of replacement cartridges for benchtop, whole house, under sink, and RO systems with Australia-wide delivery.
Subscribe
Sign up to get the latest on sales, new releases and more …