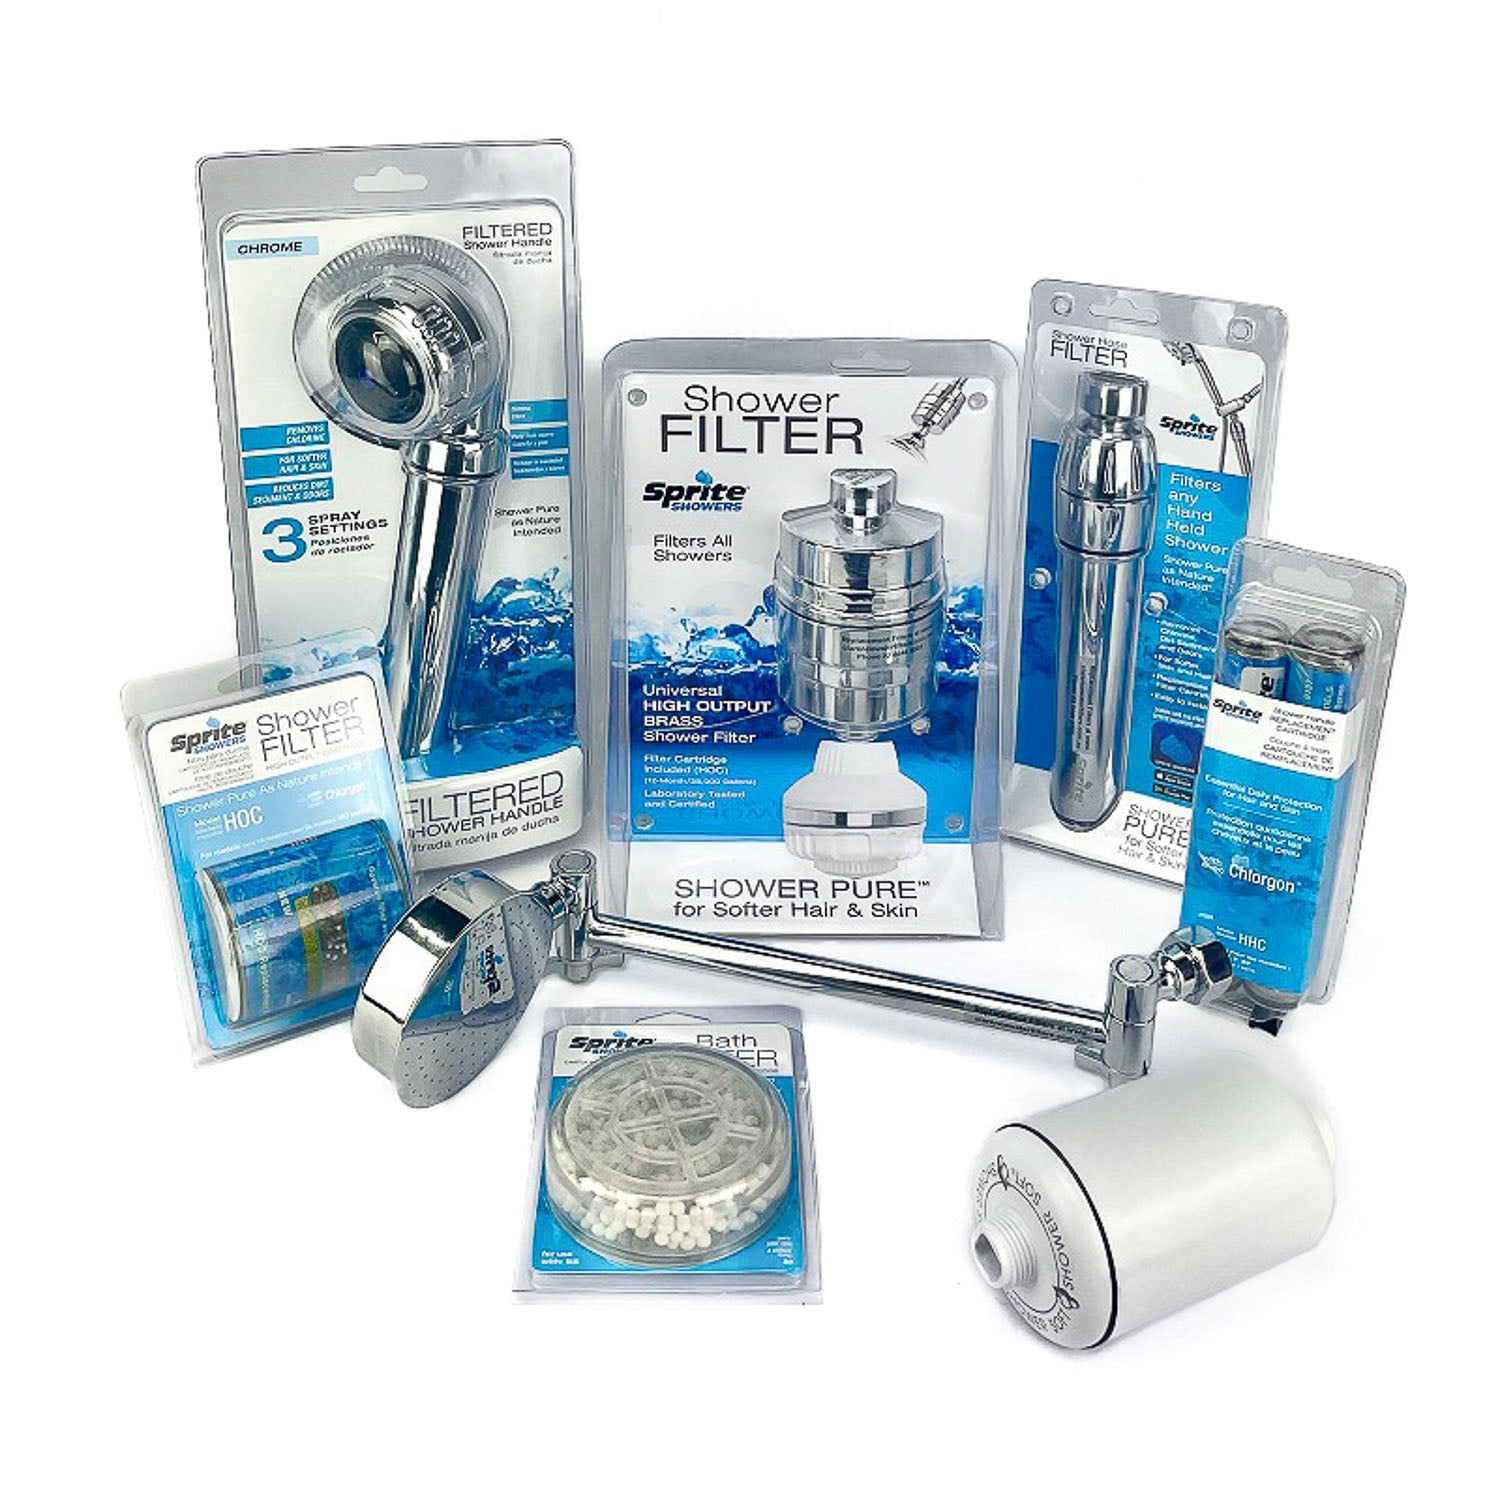
How to Install a Shower Filter: Step-by-Step Guide
September 18, 20213 min read
Installing a shower filter is one of the easiest home improvements you can make — no plumbing, no tools beyond a pair of pliers, and it takes under 5 minutes. Here's exactly how to do it.
Adjustable pliers (optional — hand-tight is usually sufficient)
A bucket or towel for any drips
Step-by-Step Installation
Step 1: Remove Your Existing Showerhead
Turn off the water. Using pliers (wrap the jaws with a cloth to protect the finish), unscrew the showerhead from the shower arm by turning anticlockwise. Set the showerhead aside — you'll reattach it to the filter in Step 5.
Step 2: Wrap the Shower Arm Threads with Plumber's Tape
Wrap 2–3 layers of plumber's tape clockwise around the male threads of the shower arm. This creates a watertight seal and prevents leaks. Don't skip this step.
Step 3: Attach the Shower Filter to the Shower Arm
Thread the shower filter onto the shower arm by hand, turning clockwise. Hand-tight is usually enough — if the filter has a hex nut, use pliers to snug it up a quarter turn. Don't overtighten.
Step 4: Flush the Filter
Before attaching your showerhead, turn on the cold water and let it run through the filter for 30–60 seconds. You may see slightly discoloured water initially — this is normal carbon residue from the new cartridge and is harmless. Run until the water runs clear.
Step 5: Reattach Your Showerhead
Wrap the filter's outlet threads with plumber's tape, then thread your showerhead onto the filter clockwise. Hand-tight is fine. Turn on the water and check for leaks around both connections. If dripping, snug up slightly with pliers.
Step 6: Enjoy Filtered Shower Water
That's it. Your shower now delivers chlorine-reduced, filtered water. Most people notice softer skin and less hair dryness within the first week.
Benefits of Filtered Shower Water
Softer skin — chlorine strips natural oils; removing it lets your skin retain moisture
Healthier hair — less dryness, less frizz, and colour-treated hair lasts longer
Less scalp irritation — particularly beneficial for eczema, psoriasis, and sensitive skin
Cleaner shower glass — fewer chemical deposits means less scrubbing
Better air quality in the bathroom — less chlorine volatilising into steam
When to Replace the Cartridge
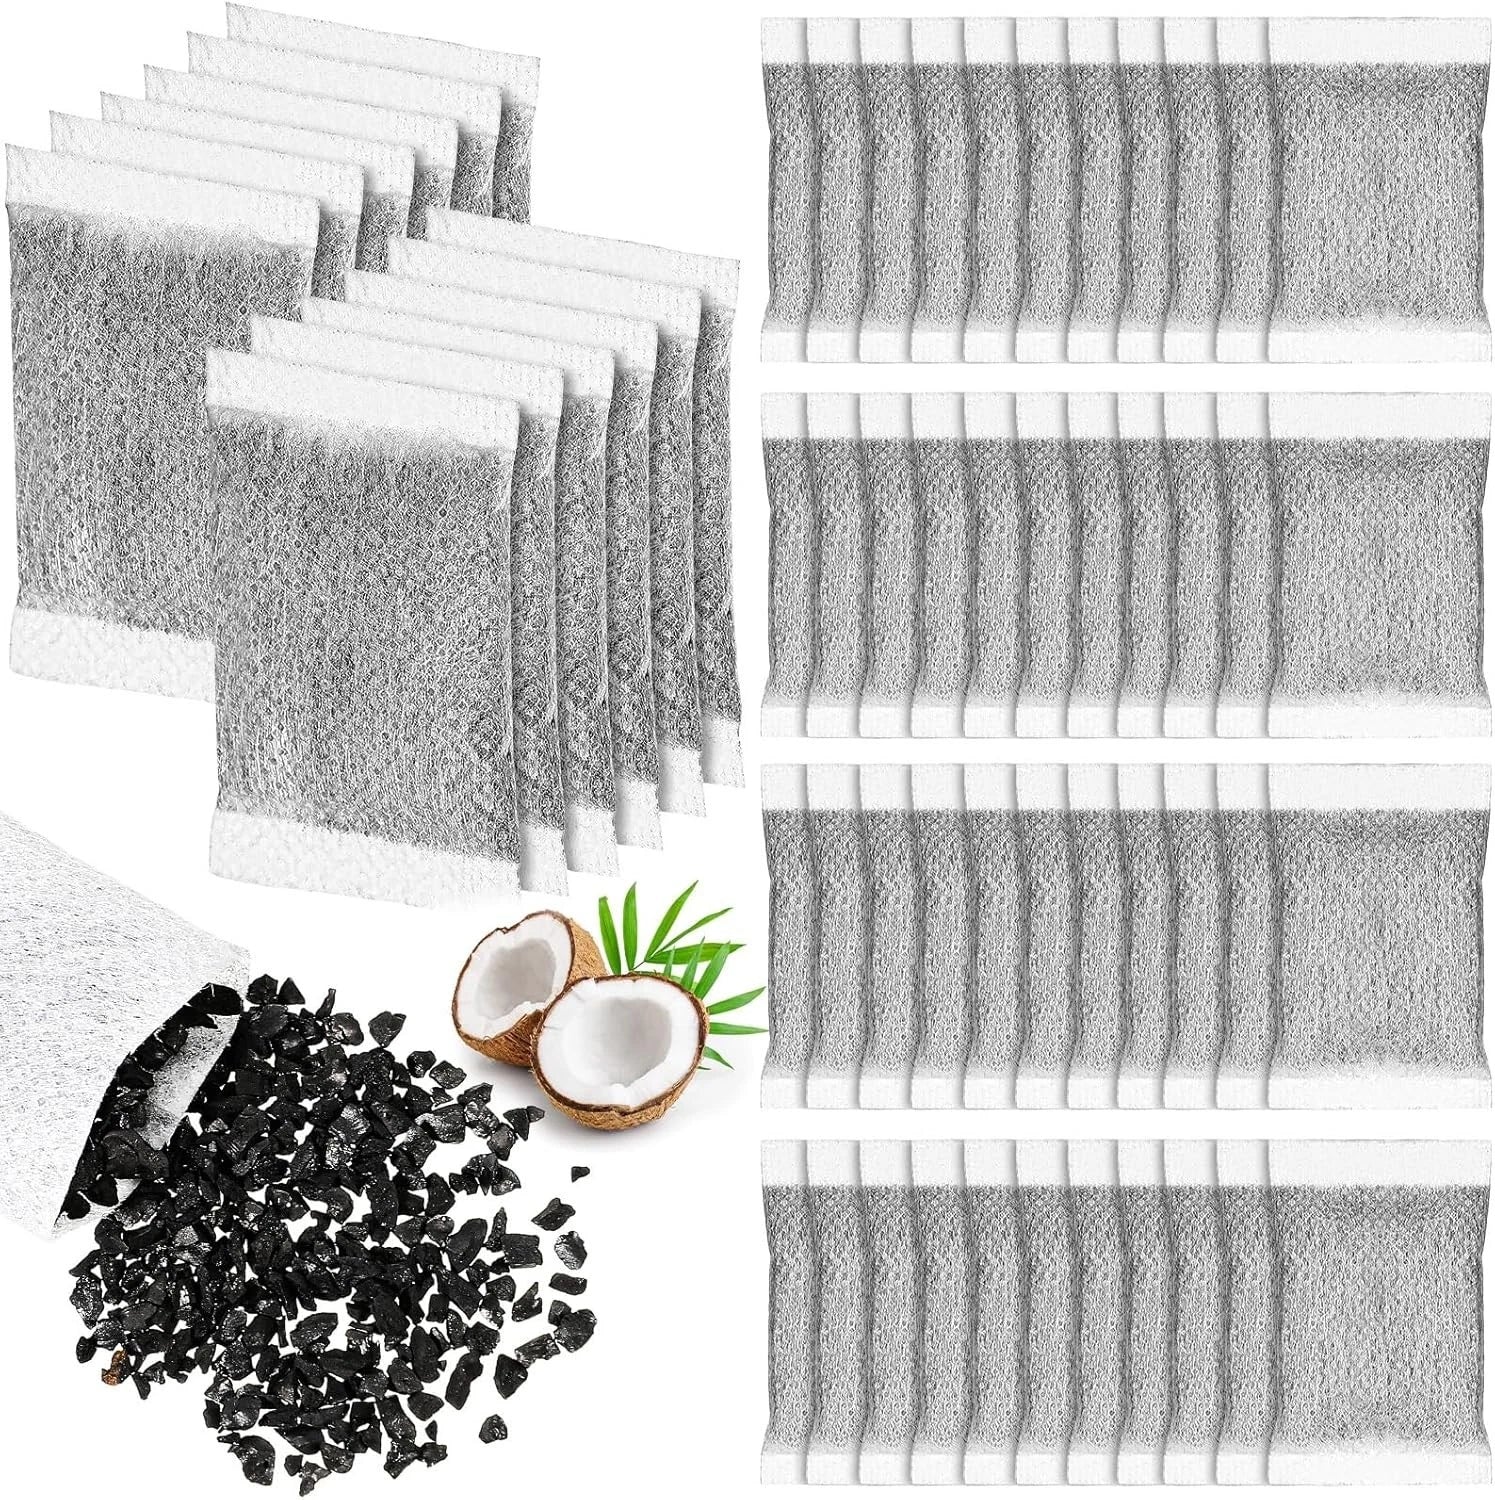
Most Sprite shower filter cartridges last 3–6 months depending on household size and water quality. Signs it's time: returning skin dryness, reduced flow, or visible discolouration. Browse our replacement cartridge range for compatible Sprite cartridges. Also see our Whole House Water Filters Guide if you want filtered water from every tap.
Frequently Asked Questions
Do I need a plumber to install a shower filter?
No — shower filters use standard thread fittings and install in minutes without any plumbing knowledge or tools beyond a pair of pliers.
Will a shower filter fit my existing showerhead?
Most shower filters use a standard 1/2 inch BSP thread, which is compatible with the vast majority of Australian showerheads. If you're unsure, call us on 1800 789 781 and we'll confirm compatibility.
Why is the water brown when I first run the filter?
This is normal — it's carbon dust from the new cartridge. It's harmless and clears within 30–60 seconds of running the water. Always flush a new cartridge before use.
Can renters install a shower filter?
Yes — shower filters attach and detach without any permanent modifications. They're completely renter-friendly. See our guide on shower filters for renters.
Subscribe
Sign up to get the latest on sales, new releases and more …