


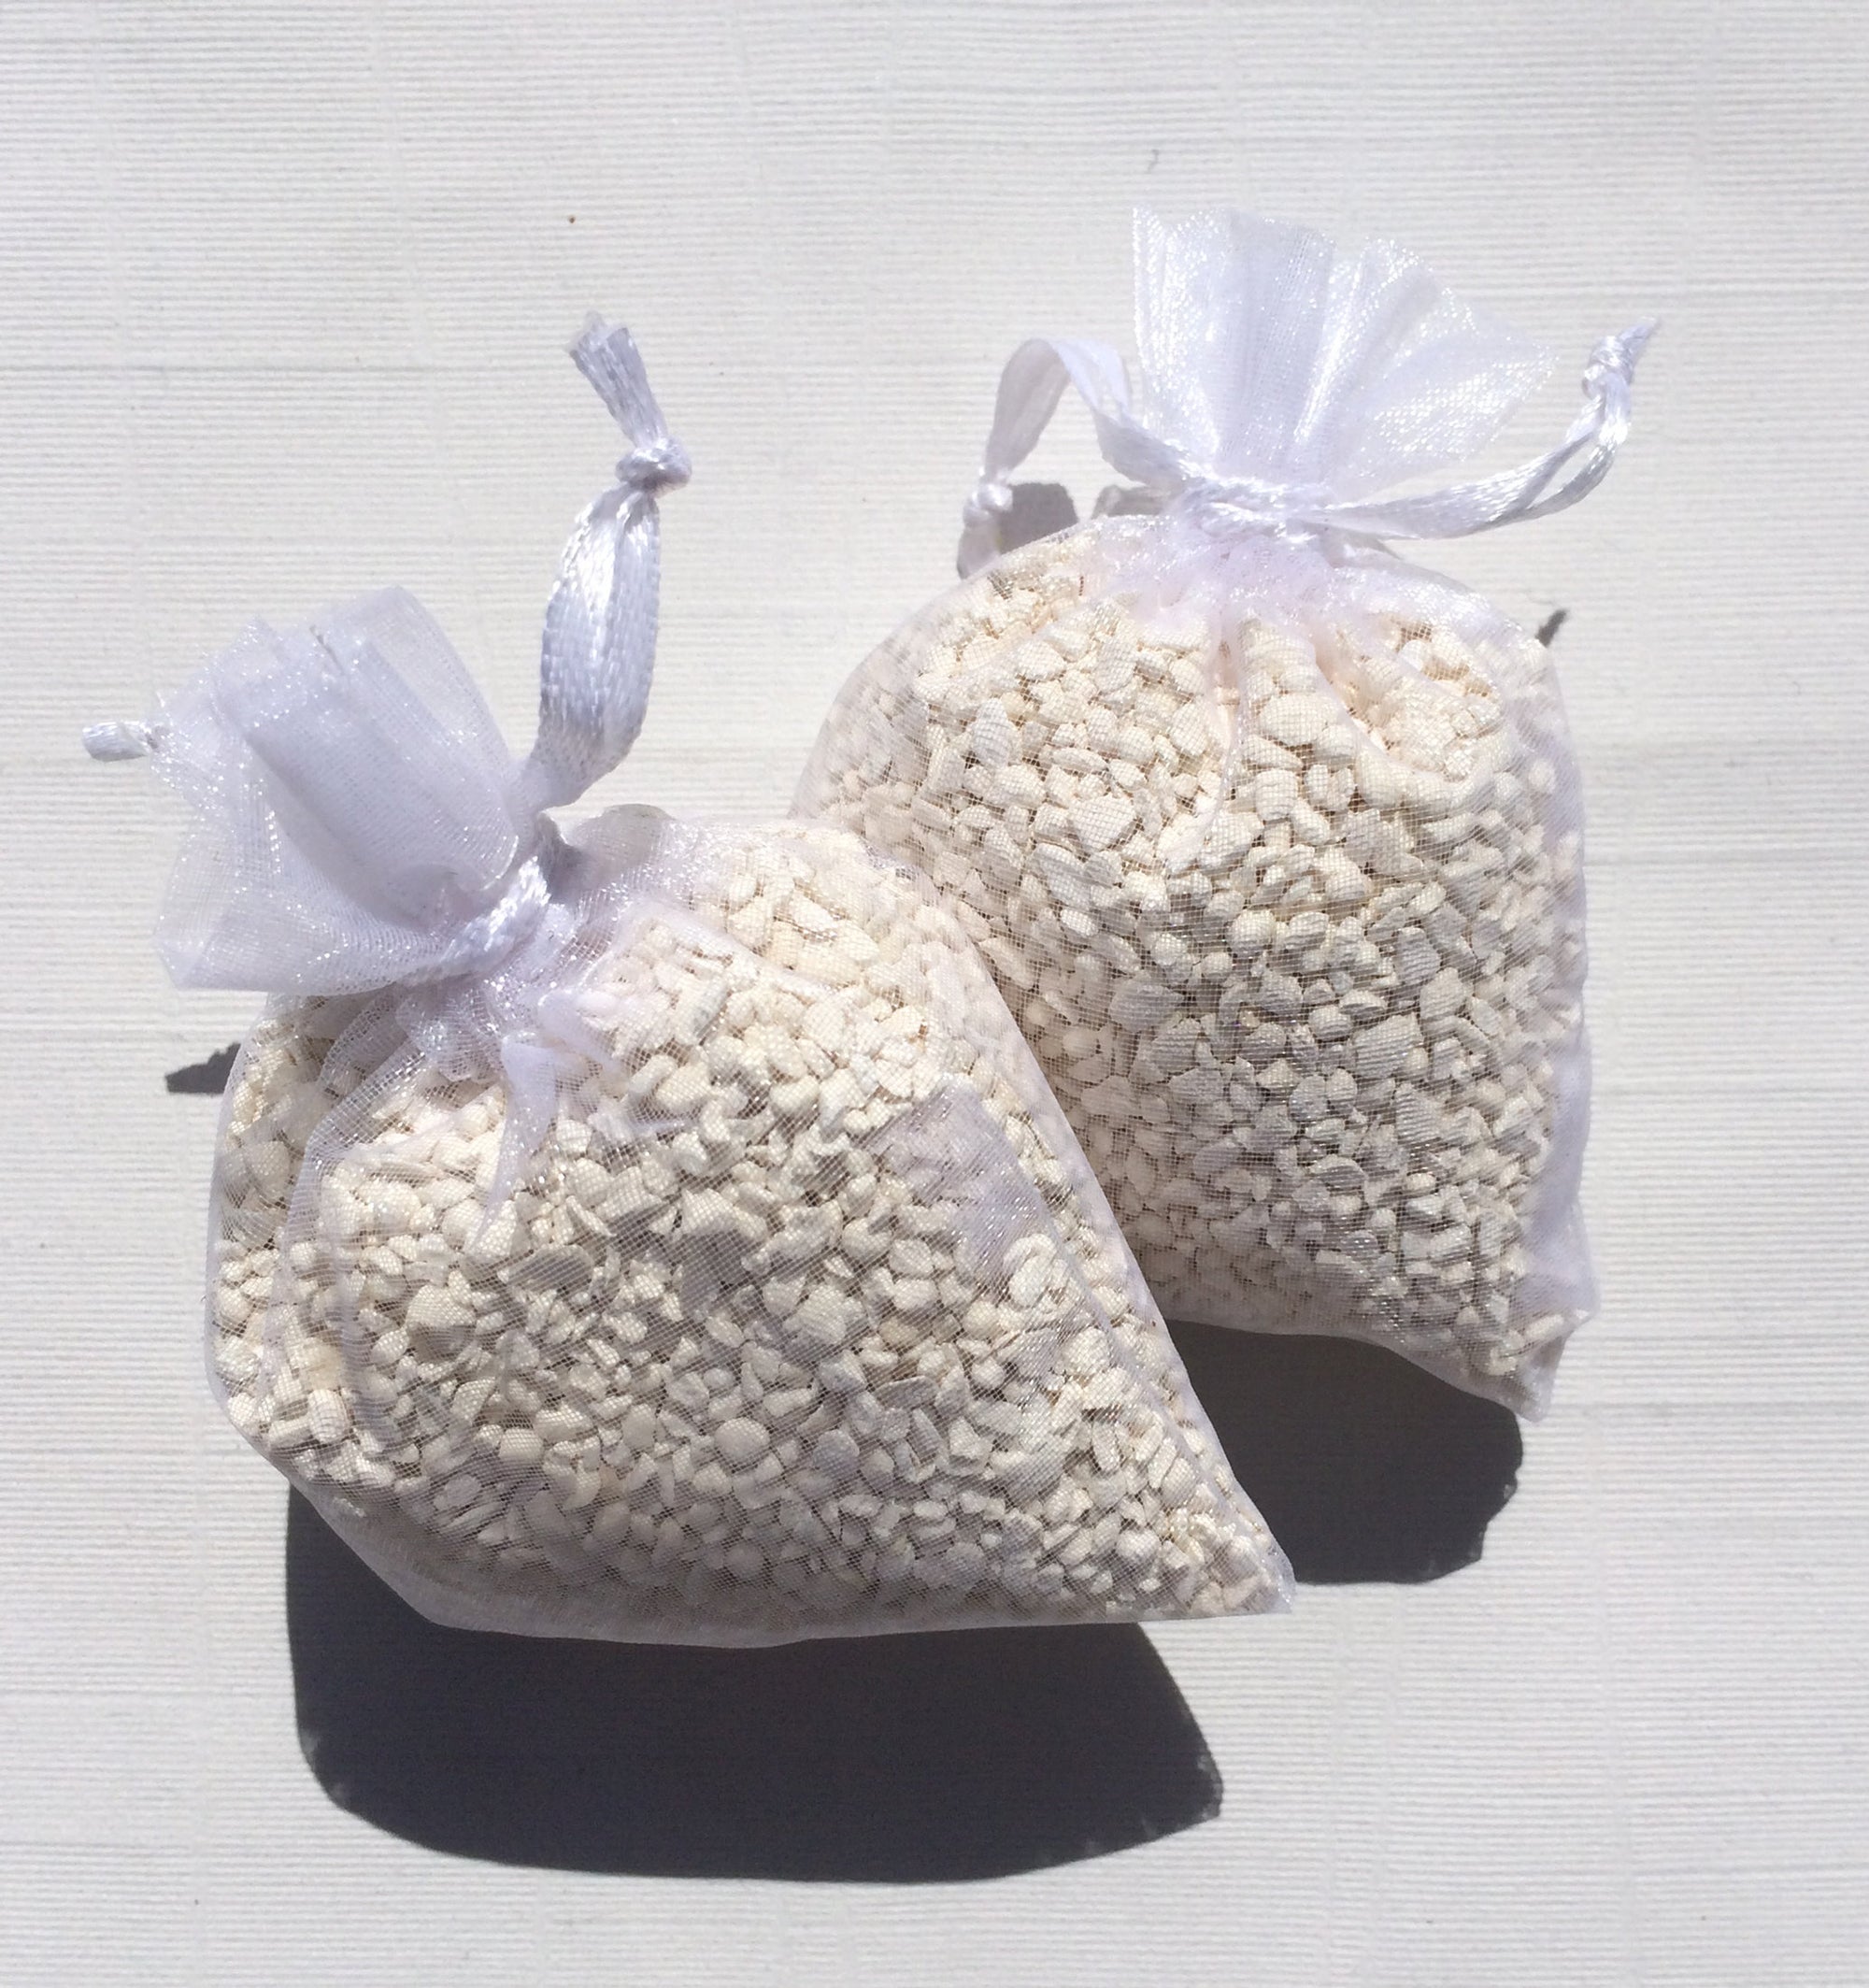


Received my beads today. Packaged very well and delivered as stated, on time. These packs are refreshers; I’m currently using the Prill and have done so for many years now. Thank you for a reliable service and great product
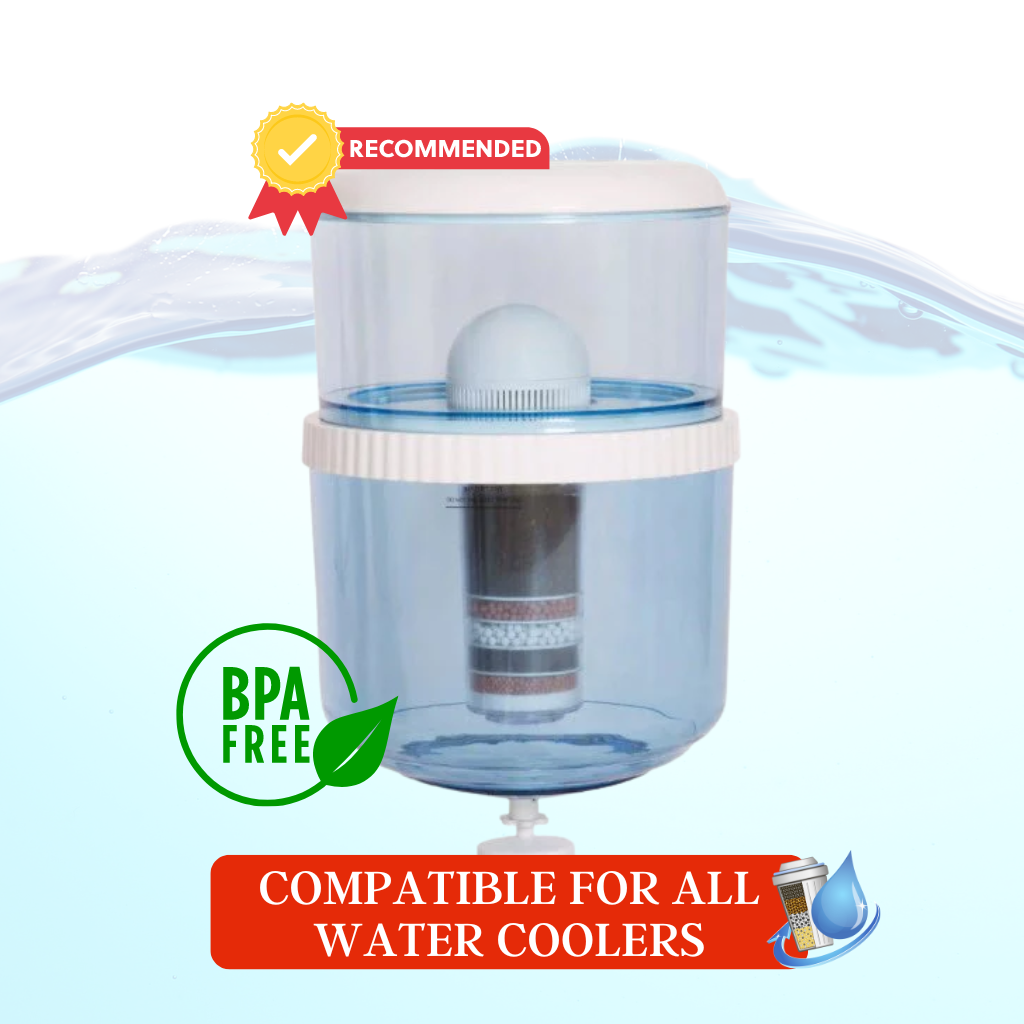
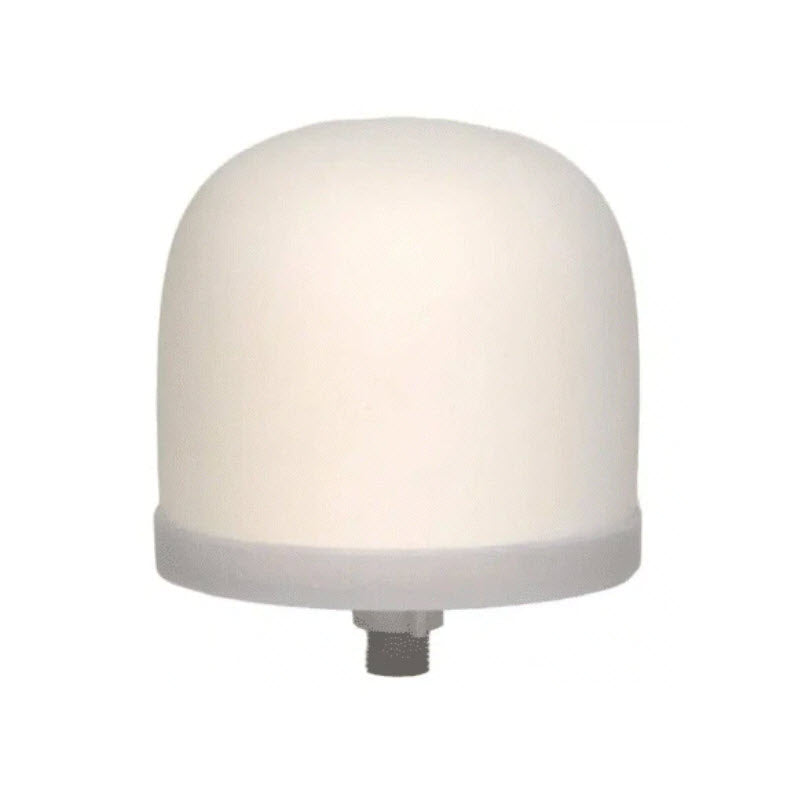
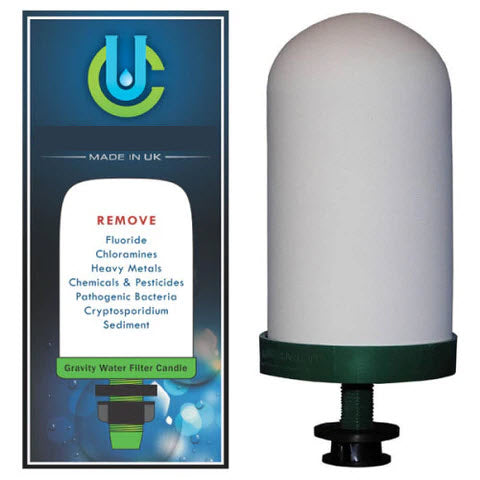
I've been using these filters and the cooler set up for many years now and it keeps on working perfectly. Just a change of filters when required and they are always delivered quickly and efficiently.
Hi there, the filter itself is a very good filter, but the price is a high one. We use the system in a daycare, and in this case we have to replace filter quite regularly. This becomes slowly an investment. It is time to think about an alternative. Kind regards Albert Tauber
Very happy with the service and communication if you want to order from Awesome Water it was very easy hassle free what more could you asked for 🍻