

Water Filters & Purifiers

How to Replace a Water Filter Cartridge: Step-by-Step Guide

August 22, 2021 3 min read

Replacing a water filter cartridge is one of the most important maintenance tasks you can do for your home’s water quality — and it’s simpler than most people expect. Here’s a clear guide for the most common filter types in Australian homes.

Browse our replacement cartridge range to find the right cartridge for your system, or call us on 1800 789 781 if you’re not sure which one you need.


Before You Start: Know Your System

Different filter systems use different cartridges and replacement procedures. Check your system’s model number before ordering a replacement cartridge — using the wrong cartridge can reduce filtration effectiveness or cause leaks. If you’re unsure, call us on 1800 789 781 and we’ll identify the right cartridge for your system.


Replacing a Benchtop or Countertop Filter Cartridge

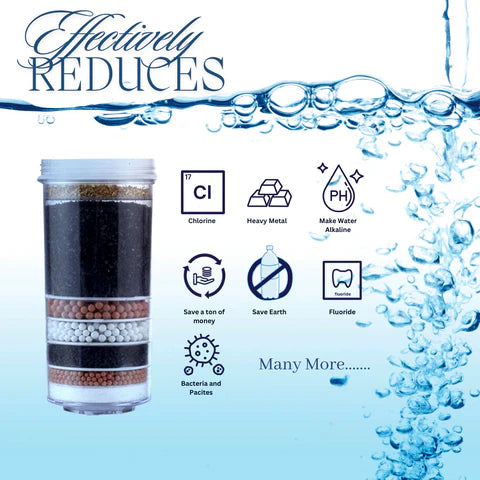
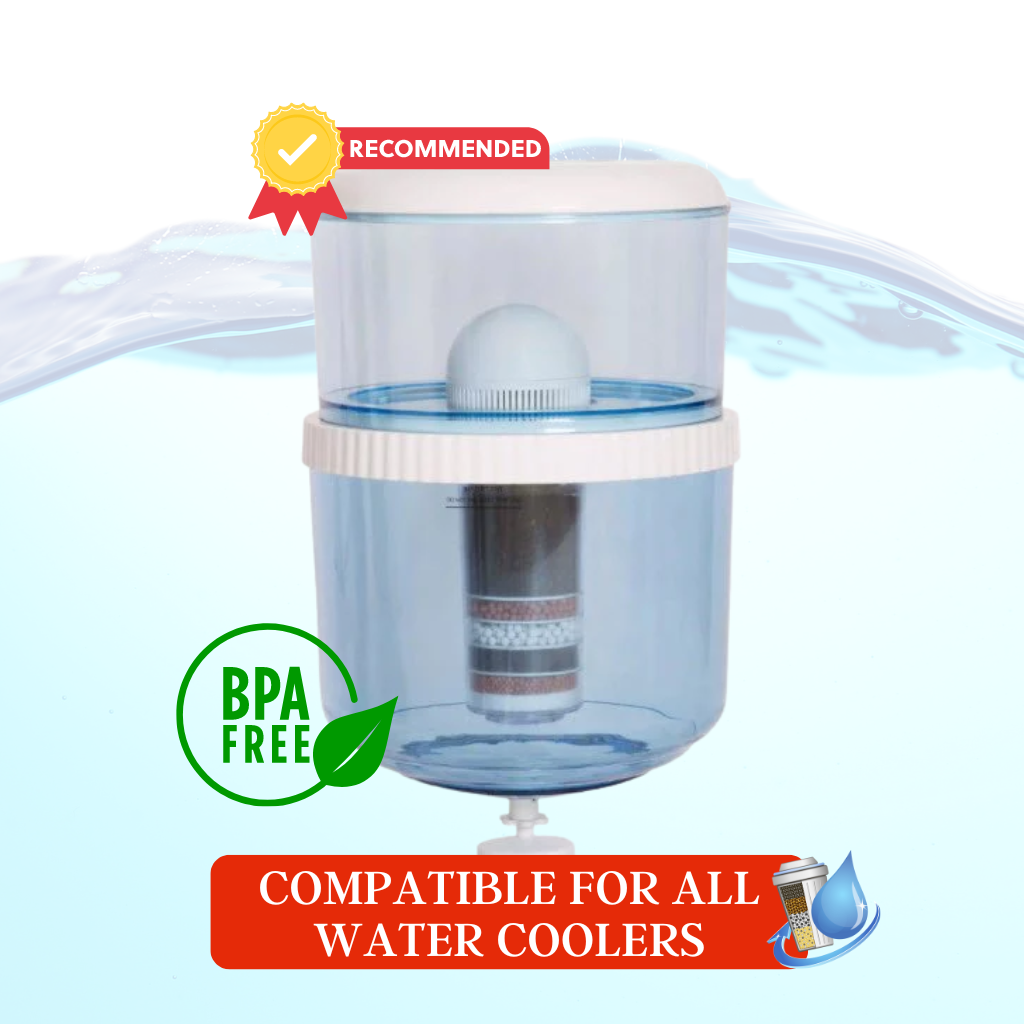
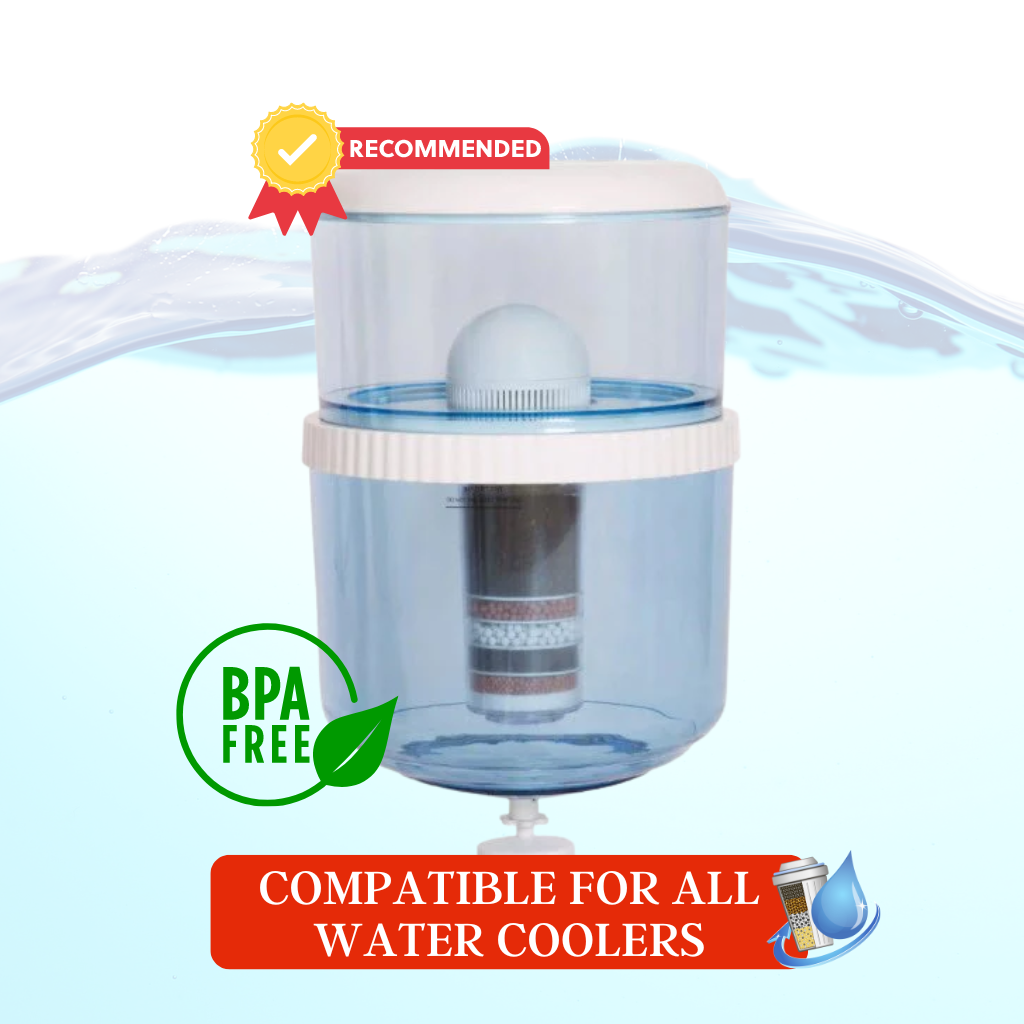
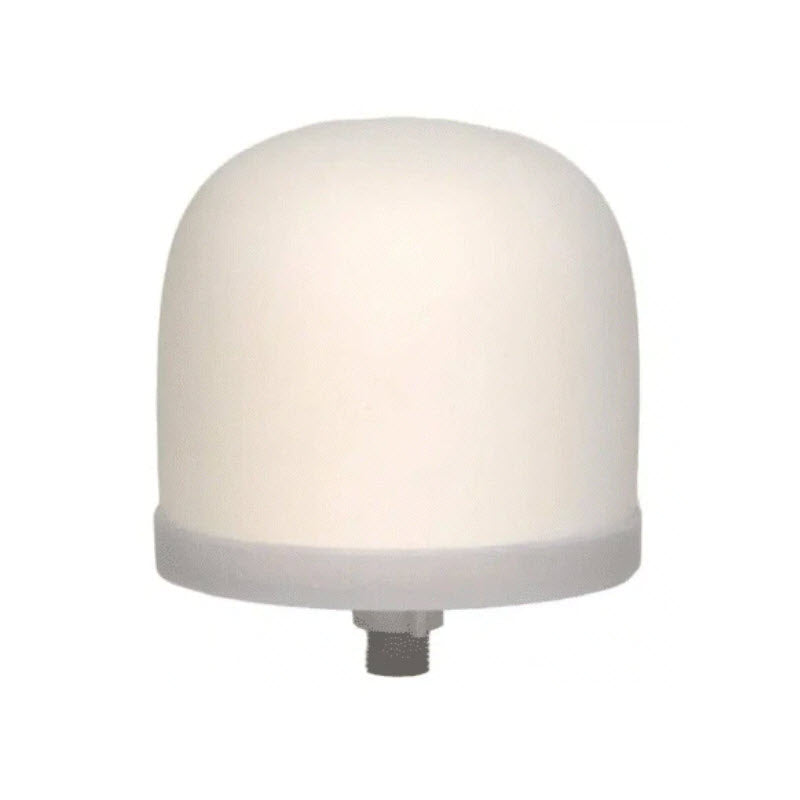
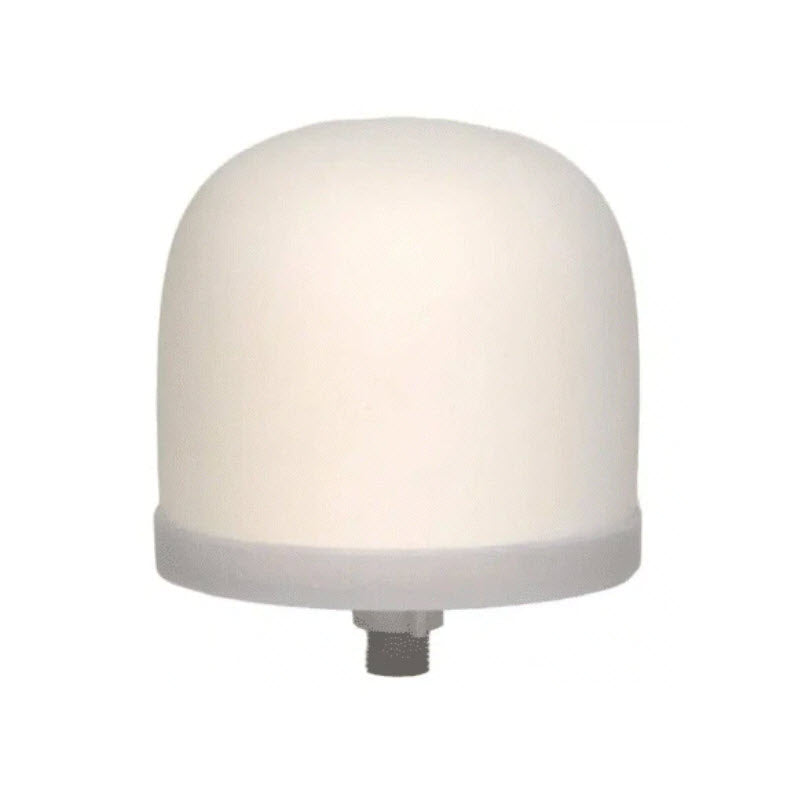
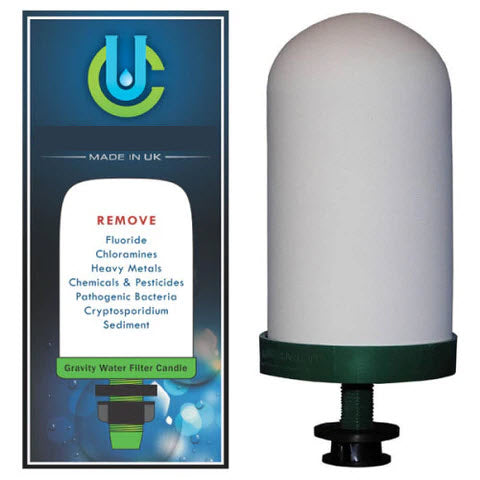
Most benchtop filters (including our 8-stage KDF systems) use a gravity-fed ceramic or multi-stage cartridge. Replacement is straightforward:

  1. Remove the upper chamber and take out the old cartridge.
  2. Rinse the housing with warm water.
  3. Insert the new cartridge, ensuring it seats correctly on the outlet spigot.
  4. Reassemble and flush 1–2 litres through before drinking.

See our Benchtop Water Filters Guide for more detail.


Replacing a Whole House Filter Cartridge (Standard Housing)

  1. Turn off the water supply at the inlet valve.
  2. Press the red pressure relief button on top of the housing to release pressure. Have a towel ready — water will spray out.
  3. Use the filter housing wrench to loosen the housing (turn anticlockwise).
  4. Remove the housing carefully — it will be heavy with water. Rest it on the ground.
  5. Remove the old cartridge and drain the housing.
  6. Rinse the housing with warm water. For a thorough clean, wipe with a diluted bleach solution (1 tablespoon per 4 litres) then rinse thoroughly.
  7. Check the O-ring — if it’s cracked or deformed, replace it. Lubricate with food-grade silicone grease before reinstalling.
  8. Insert the new cartridge, aligning it over the standpipe at the base of the housing.
  9. Screw the housing back on by hand, then tighten with the wrench (don’t overtighten).
  10. Slowly open the inlet valve and press the red button to purge air. Run water through for 2–3 minutes before use.
  11. Check all connections for leaks.

Browse our whole house filter range and Whole House Water Filters Guide.


Big Blue Housing Cartridge Replacement

Big Blue housings follow the same process as above but are larger and heavier. Key additional steps:

  • The O-ring on Big Blue housings is critical — always lubricate with silicone grease before reassembly
  • When reopening the water supply, turn the inlet valve very slowly to avoid pressure shock blowing the housing off
  • Big Blue systems typically run 3 stages: 5-micron sediment (Stage 1), carbon block (Stage 2), 1-micron sediment (Stage 3)

Browse our Big Blue whole house filter range.


Signs Your Cartridge Needs Replacing Now

  • Reduced water flow rate through the filter
  • Returning chlorine taste or smell
  • Unusual taste or odour in the filtered water
  • Visible sediment or discolouration in the cartridge
  • It’s been more than 12 months since the last change

Frequently Asked Questions

How often should I replace my water filter cartridge?

It depends on the filter type and household size. Most cartridges need replacing every 6–12 months. See our full guide: How Often Should You Replace Your Water Filter?

Do I need a plumber to replace my filter cartridge?

No — most filter cartridge replacements are DIY-friendly and require no plumbing knowledge. The steps above cover the most common systems. If you’re unsure, call us on 1800 789 781.

Where can I buy replacement filter cartridges in Australia?

We stock a full range of replacement water filter cartridges for all major systems with Australia-wide delivery.

```html
```