Whole House Water Filter Sizes: Which Dimensions Do You Need?
August 18, 20213 min read
Choosing the right size whole house water filter matters more than most people realise. Too small and you’ll get pressure drop and premature cartridge clogging. Too large and you’re spending more than you need to. Here’s a practical guide to the key dimensions and which one suits your home.
Whole house filter housings are described by two measurements: length x diameter. The most common sizes in Australia are:
Size
Flow Rate (approx.)
Best For
10" x 2.5"
15–25 L/min
Townhouses, units, low water use
20" x 2.5"
20–35 L/min
Low water pressure situations
10" x 4.5" (Big Blue)
25–40 L/min
Families up to 5 people — most popular choice
20" x 4.5" (Big Blue)
40–75 L/min
Large families, double-storey homes, low pressure
Note: flow rates are indicative. Actual flow depends on your mains water pressure, pipe diameter, and plumbing layout. When in doubt, size up — a larger housing won’t hurt performance but a too-small one will.
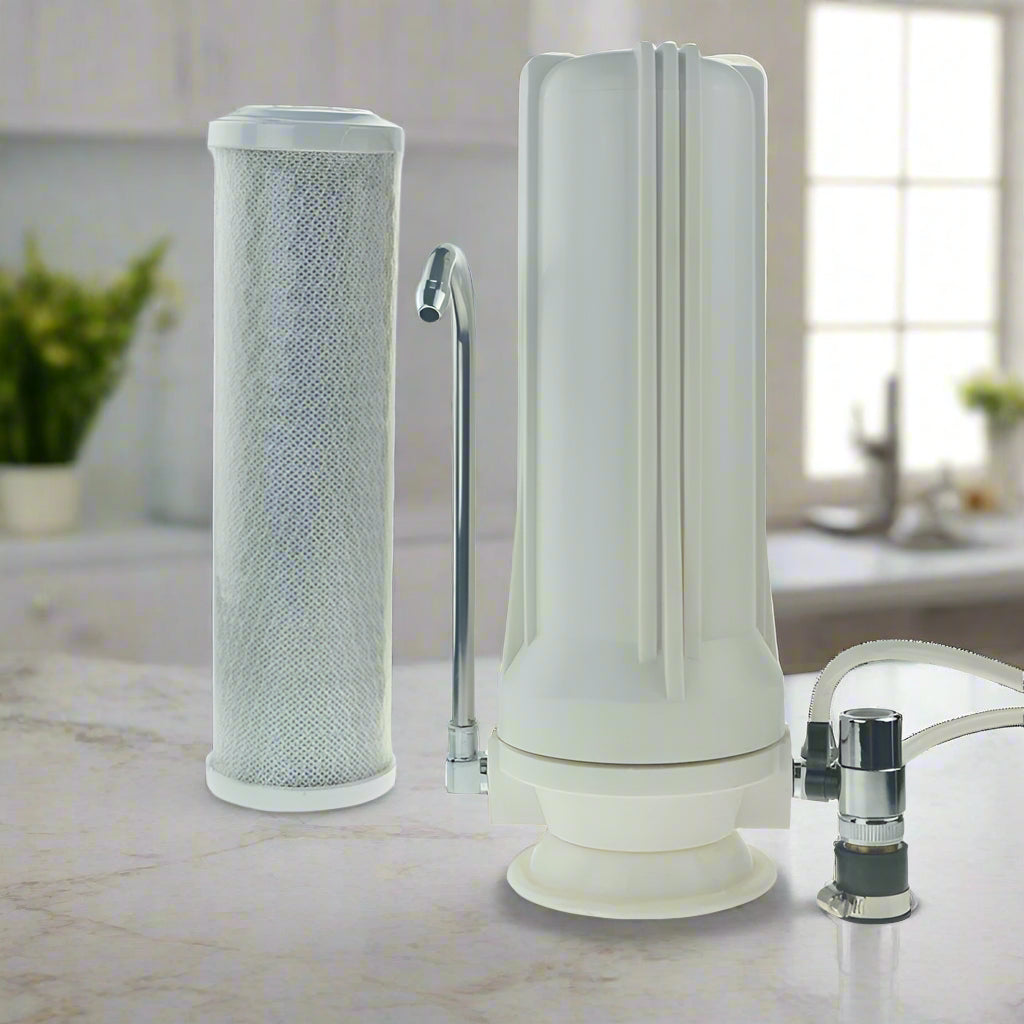
One housing, one cartridge. Ideal for homes that need sediment or chlorine removal as a single stage. Compatible with 4.5" x 10" cartridges including sediment, carbon block, and dual-stage options. Good entry-level whole house solution for smaller households.
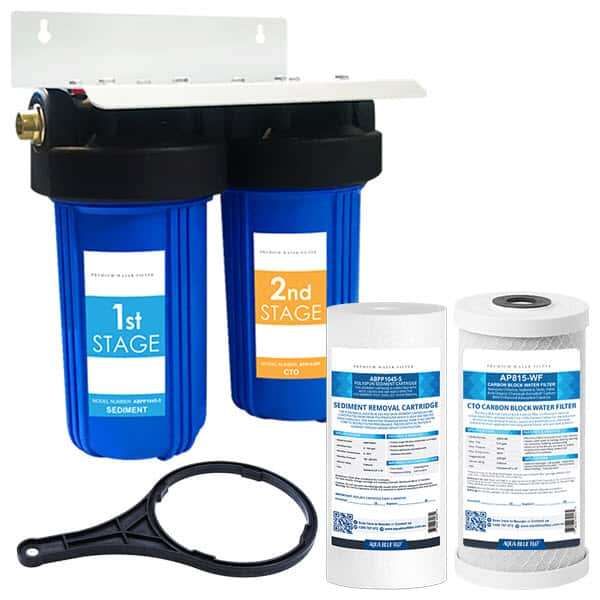
Two housings in series — typically Stage 1 sediment + Stage 2 carbon block. Removes sand, rust, sediment, chlorine, chloramines, and heavy metals. Includes heavy-duty metal bracket and 1" x 3/4" bushings. The most popular configuration for Australian family homes.
Three housings in series — typically 5-micron sediment + carbon block + 1-micron sediment. Handles up to 75 L/min. Includes 1" brass threaded ports. Best for larger homes, double-storey properties, or where water quality requires more comprehensive treatment. Protects tap washers, hot water systems, and appliances throughout the home.
How to Choose the Right Size
1–2 people / unit / townhouse: 10" x 2.5" or single stage 10" x 4.5"
Family of 3–5 / standard house: Twin Big Blue 10" x 4.5" — the most common choice
Large family / double-storey / low pressure: Triple stage or 20" x 4.5" housing
Bore or tank water with high sediment: Triple stage with 20" x 4.5" housings for maximum cartridge life
Not sure which size suits your home? Call us on 1800 789 781 and we’ll recommend the right configuration based on your household size, water source, and pressure.
Frequently Asked Questions
Will a whole house filter reduce my water pressure?
A correctly sized filter should have minimal impact on water pressure. If you notice significant pressure drop, the cartridge is likely due for replacement, or the housing size is too small for your flow rate. Sizing up to a 4.5" diameter housing reduces pressure drop significantly.
What cartridges fit Big Blue 10" x 4.5" housings?
Any standard 4.5" x 10" cartridge — including sediment, carbon block, and dual-stage options. Browse our replacement cartridge range for compatible options.