How to Flush a New Water Filter Cartridge (and Why It Matters)
June 26, 20264 min read
When you install a new water filter cartridge — whether in a benchtop purifier, under-sink filter, or whole house system — flushing it before use is an important step that is easy to overlook. Skipping this step can result in grey or cloudy water in your first glass, and the filter may not perform correctly until the media has been properly saturated.
This guide explains why flushing matters, how to do it correctly for different filter types, and what to expect after installing a new cartridge.
Why Do You Need to Flush a New Cartridge?
New filter cartridges contain media that has been packed dry during manufacturing. When water first contacts this media, several things can happen:
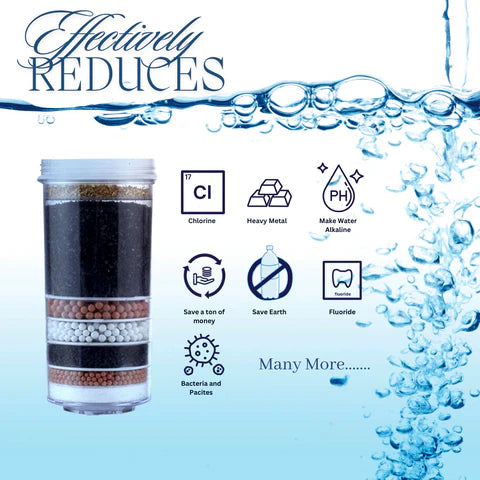
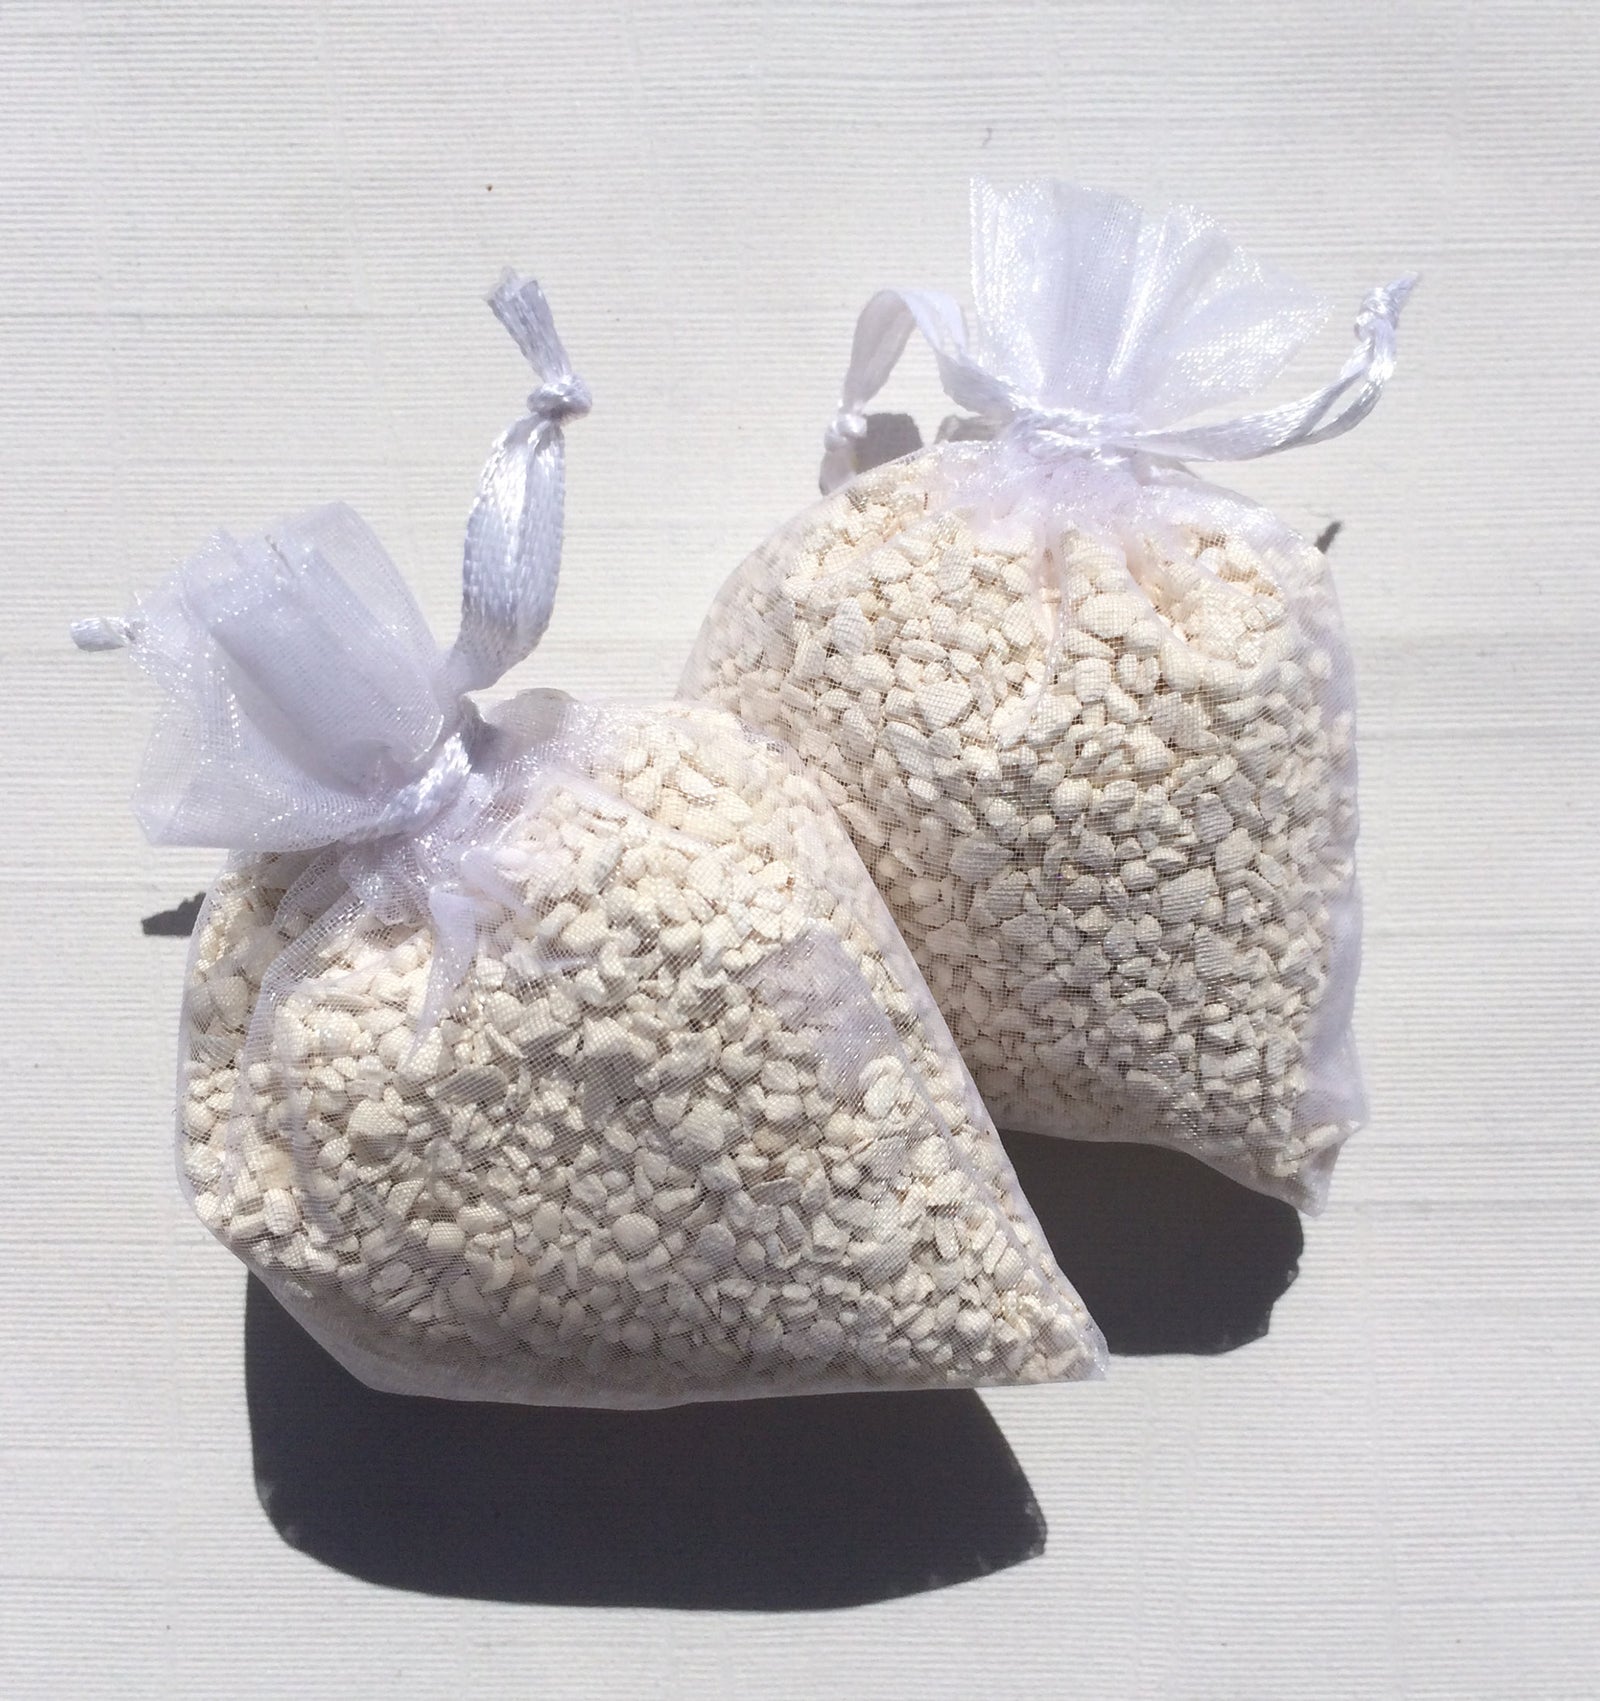
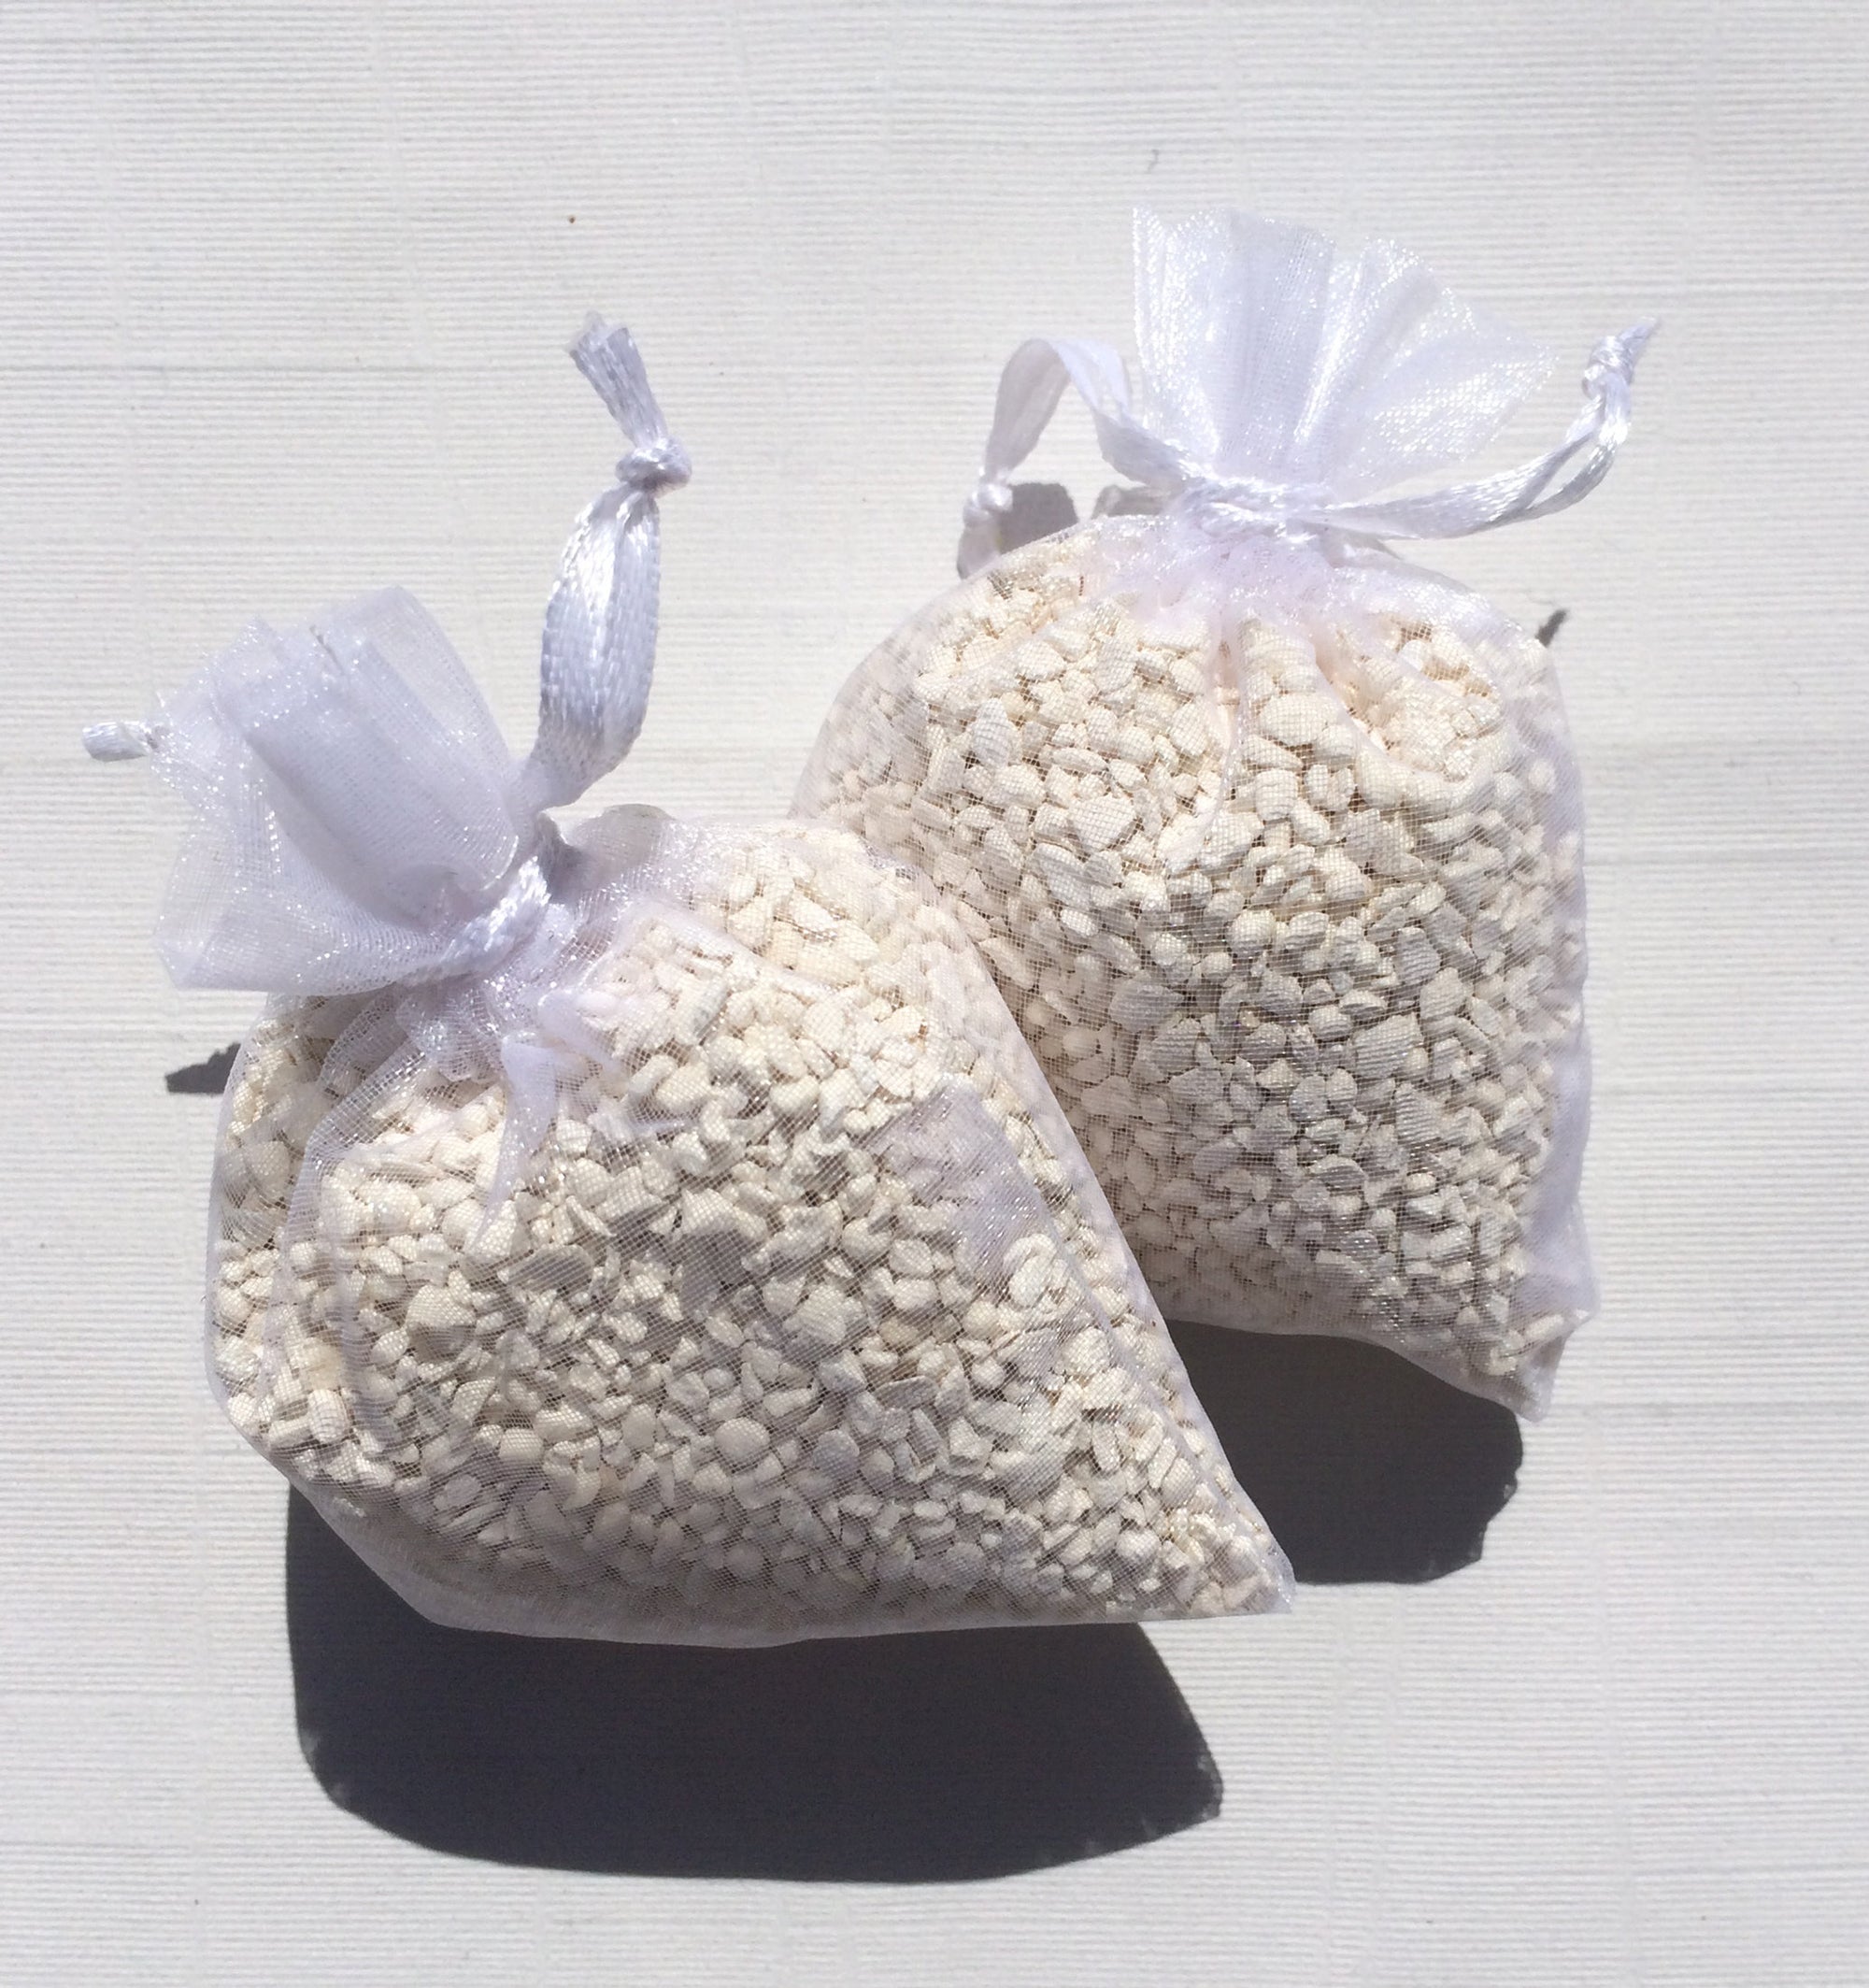
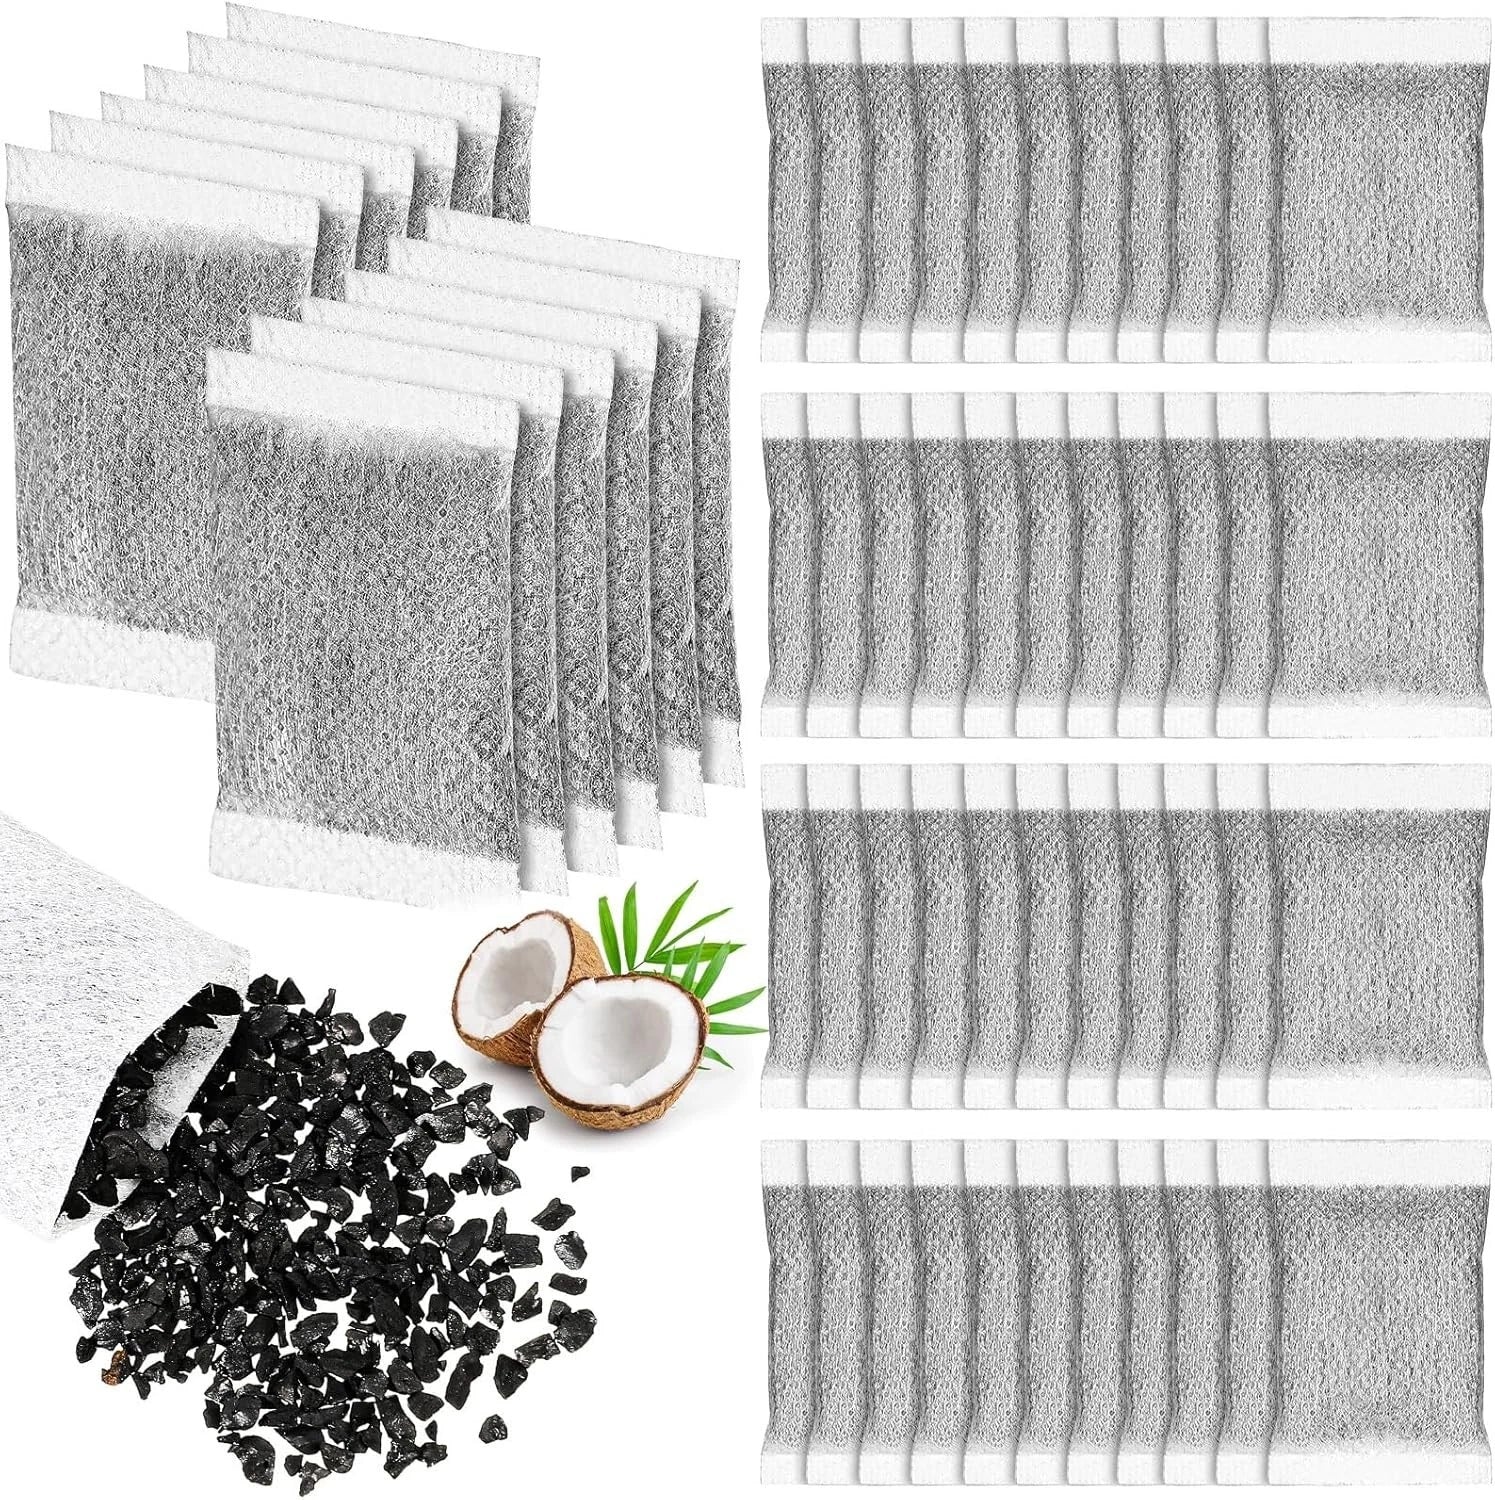
Carbon fines: Activated carbon and KDF media can release fine particles (called carbon fines) into the first few litres of water. These particles give the water a grey or cloudy appearance. They are not harmful in the quantities typically released, but you should discard this initial flush water.
Air pockets: Dry media contains trapped air. Flushing removes this air and allows the media to saturate properly, which is necessary for the filter to function as designed.
Manufacturing particles: Any loose particles from the packing process are carried away by the initial flush water.
Once the initial flush is complete, the water coming through will be clear and the filter will be operating correctly.
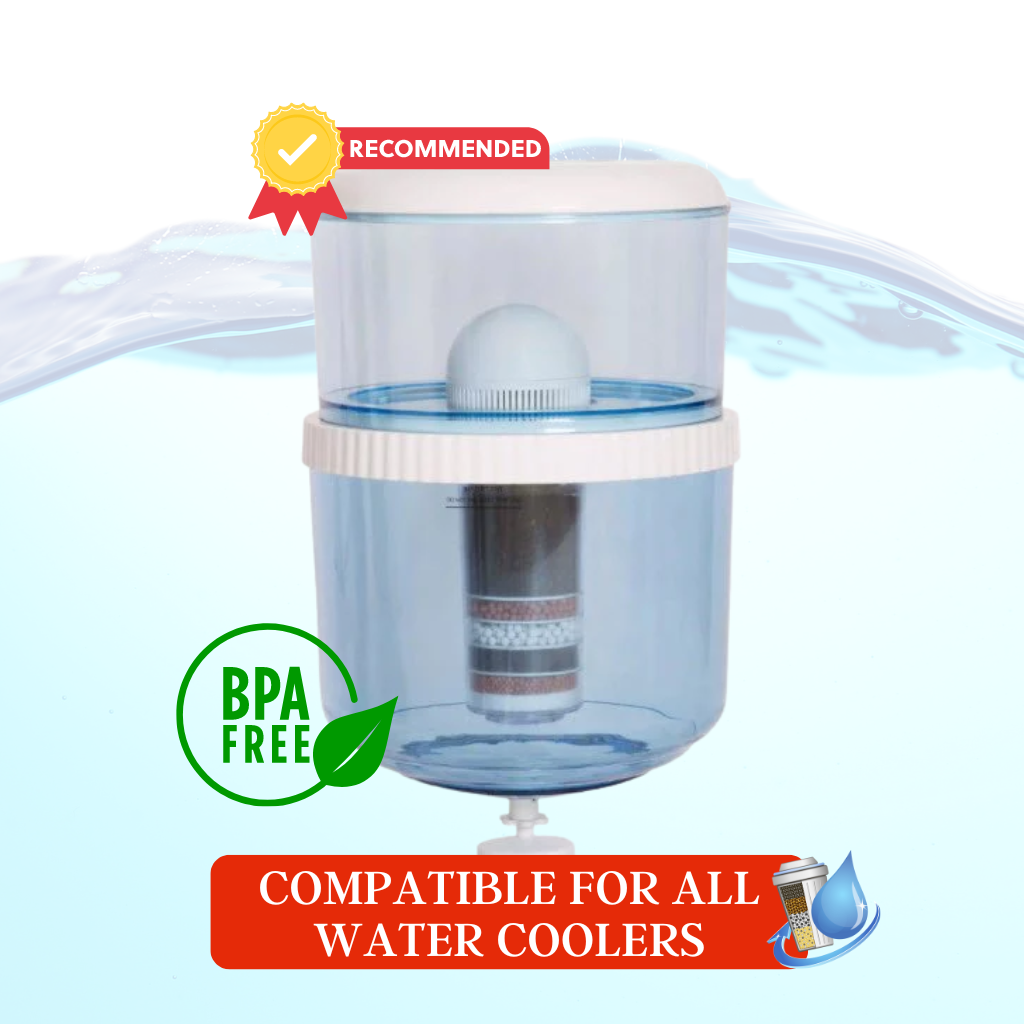
Install the new cartridge as per the product instructions. Ensure the cartridge is seated correctly and all connections are secure.
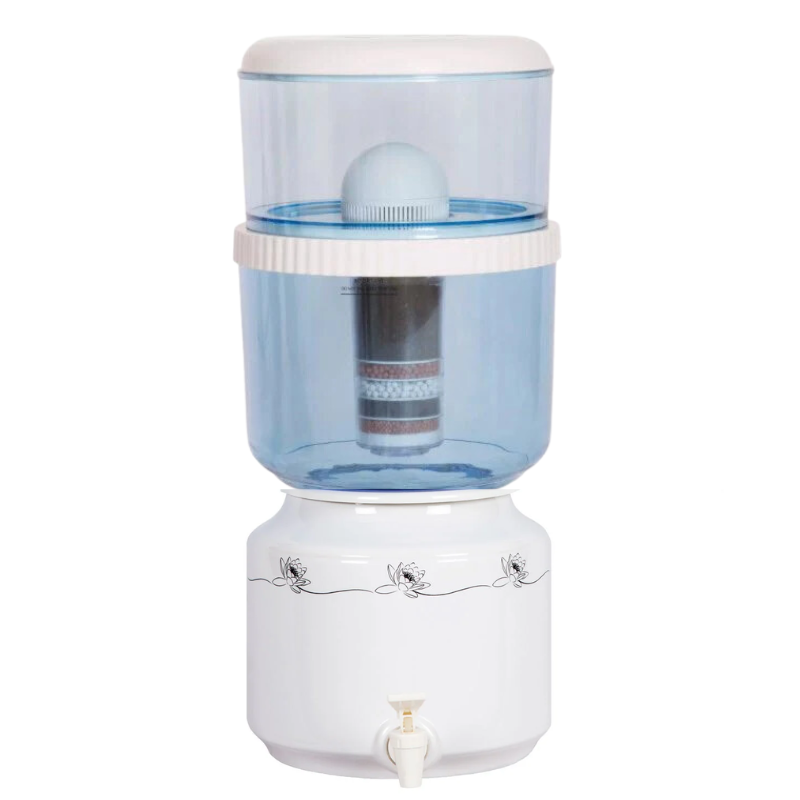
Fill the top reservoir with water.
Allow the water to pass through the cartridge into the lower reservoir. Discard this first batch — do not drink it.
Refill the top reservoir and allow a second pass through. Discard this water as well.
After two to three full passes, the water should run clear. Your filter is now ready to use.
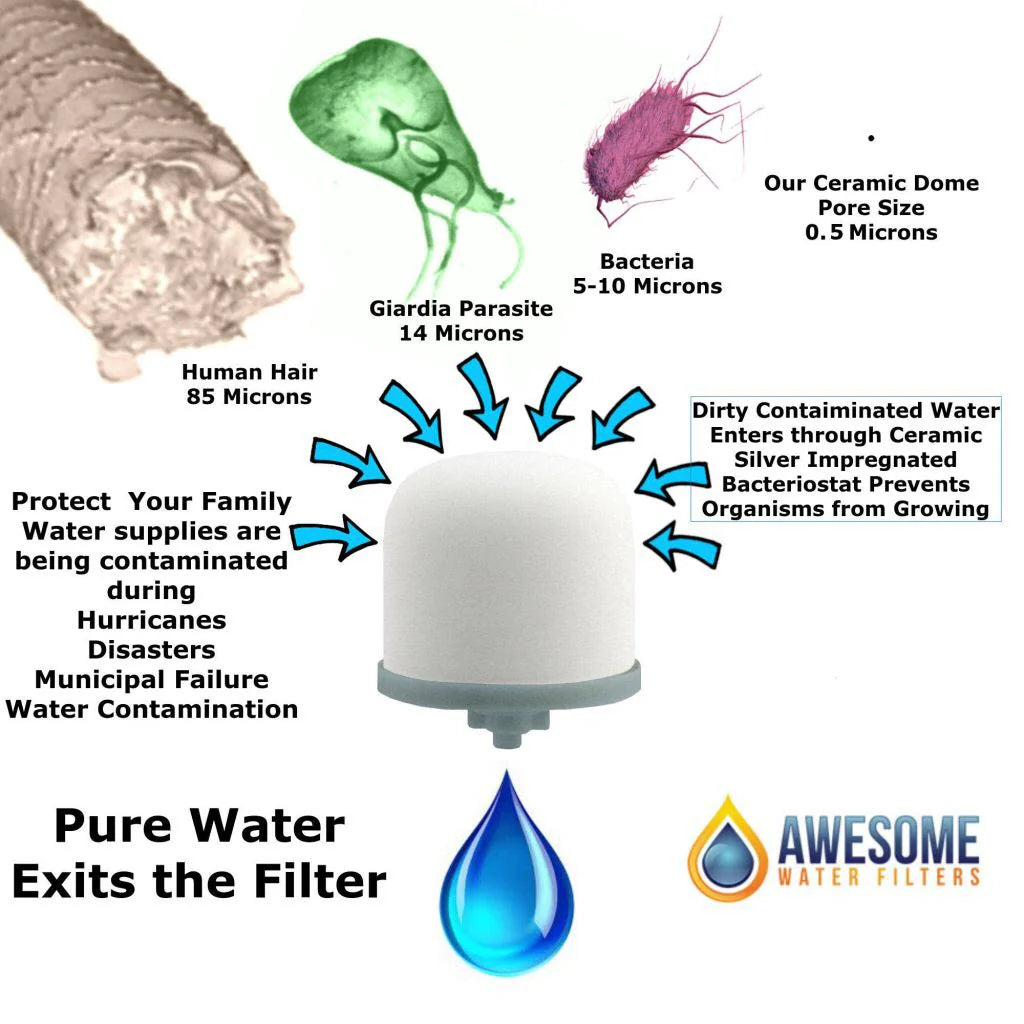
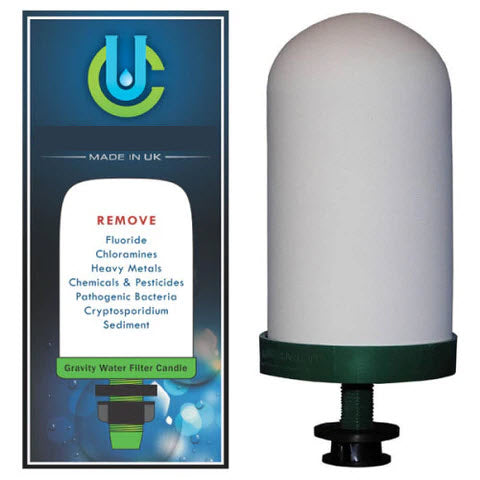
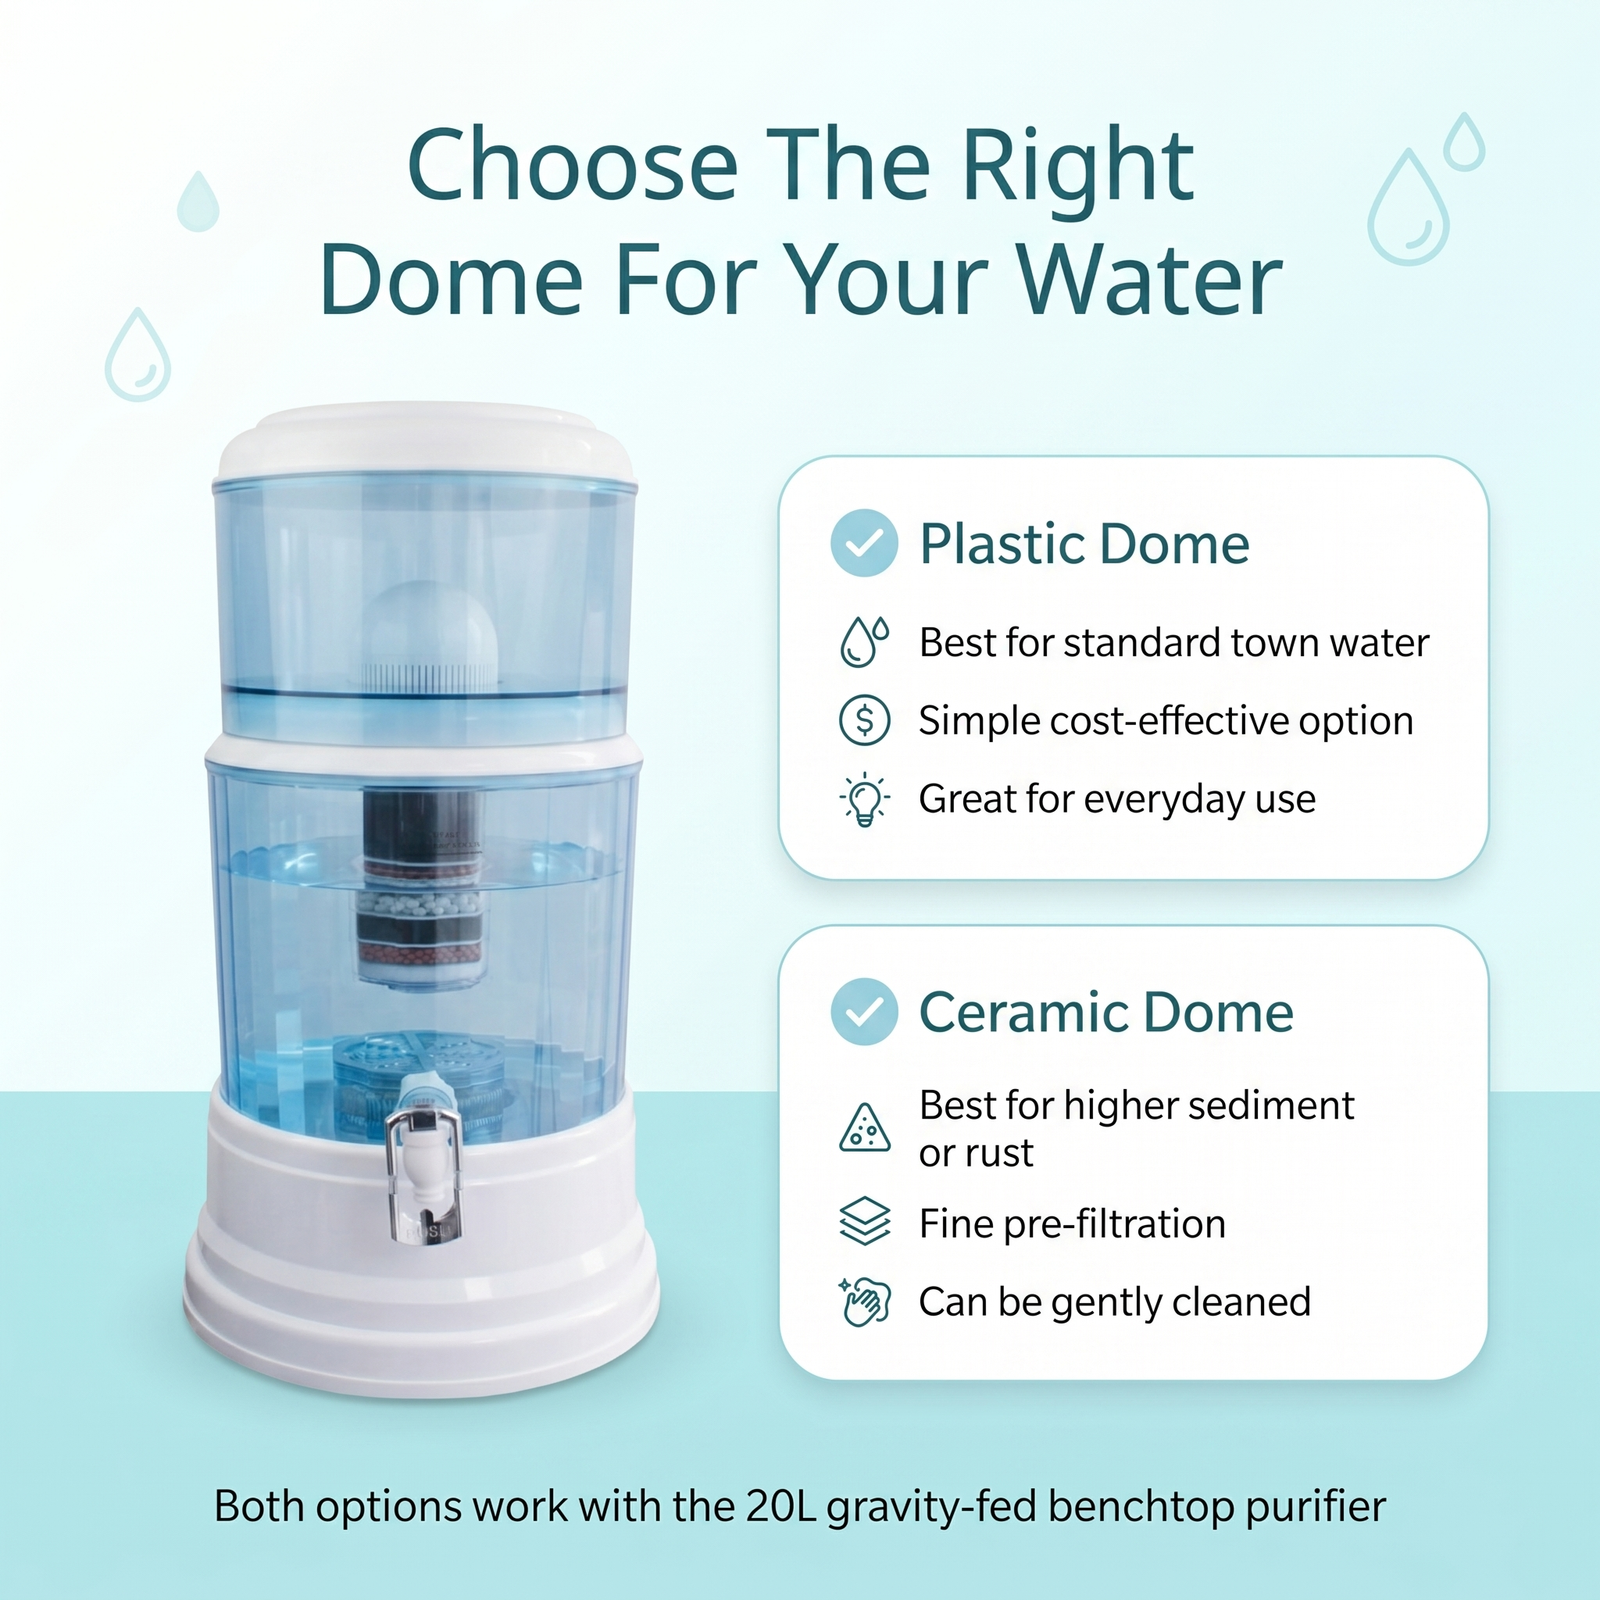
Ceramic dome note: If your cartridge includes a ceramic dome, rinse the dome under cold running water and gently scrub it with a soft brush before fitting it, to remove any surface residue from manufacturing.
Under-Sink Water Filter
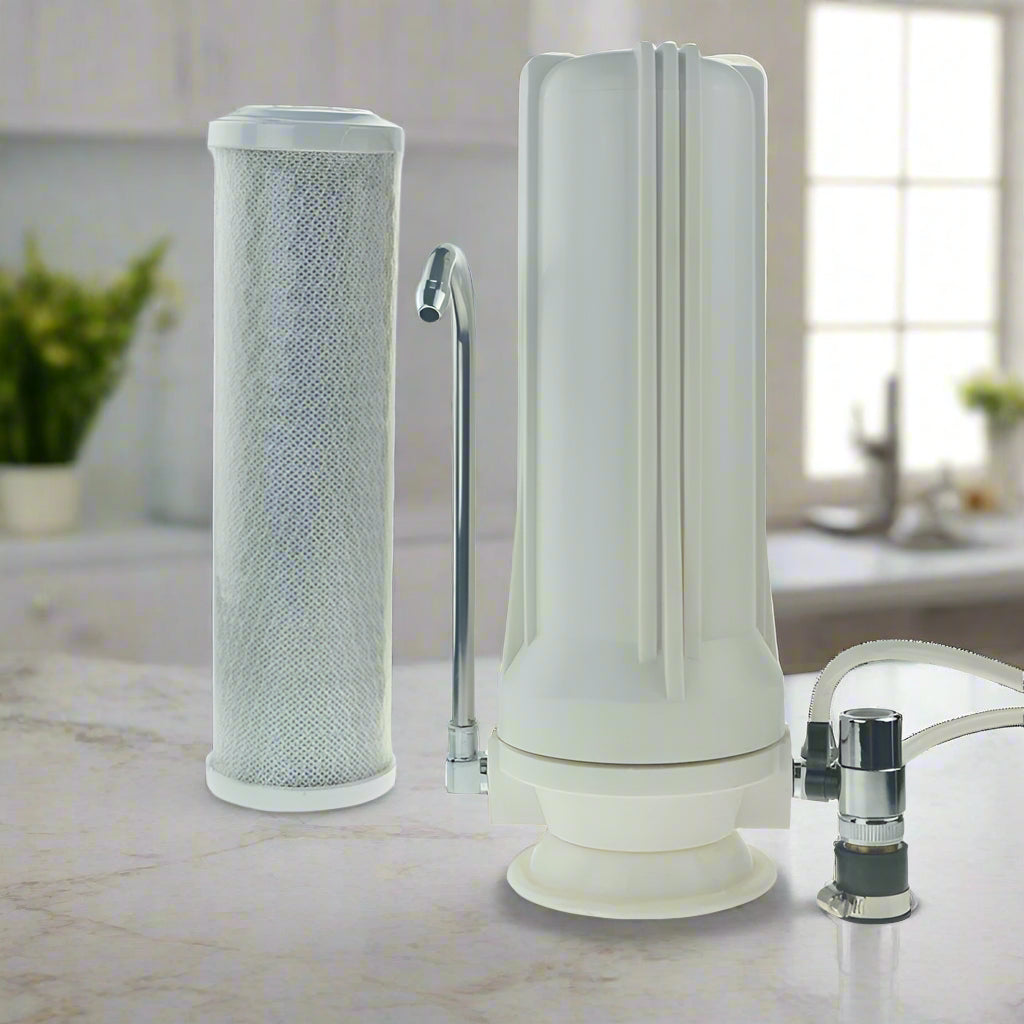
Install the cartridge and tighten the housing as per the product instructions. Hand-tight plus a quarter turn is usually sufficient — do not overtighten.
Turn the water supply back on slowly and check for leaks at all connections before proceeding.
Open the filter tap and allow water to run continuously for 3 to 5 minutes, or until the water runs clear.
Discard this flush water. The filter is now ready to use.
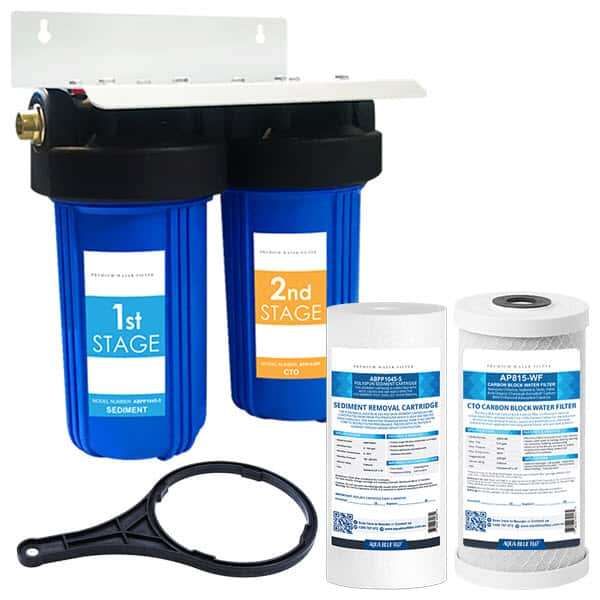
Whole House Filter (Big Blue Housing)
Install the new cartridge into the Big Blue housing and hand-tighten the housing sump.
Slowly open the mains water supply valve and allow water to flow through the housing.
Open a tap downstream of the filter and allow water to run for 3 to 5 minutes to purge air and flush carbon fines.
Check for any leaks at the housing before leaving the system unattended.
Before installing the ceramic candle, rinse it under cold running water for 1 to 2 minutes and scrub the outer ceramic surface gently with a soft brush to remove any surface residue.
Fit the candle into the filter housing and ensure the locking nut is hand-tight.
Allow 2 to 3 litres to pass through and discard before drinking filtered water.
What If My Water Is Still Cloudy After Flushing?
Some cloudiness in the first few litres is normal with activated carbon and KDF media. If the water is still noticeably grey or discoloured after 5 litres, try the following:
Continue flushing — some cartridges may require more than 5 litres before fully clearing
Check that the cartridge is correctly seated and all seals are properly engaged
If cloudiness persists beyond 10 litres, contact the supplier — there may be a manufacturing fault
How Often Should You Replace Your Cartridge?
Replacement intervals vary by filter type. As a general guide:
8 stage gravity-fed benchtop cartridges: every 6 to 12 months depending on usage [NEEDS VERIFICATION per model]
Ceramic dome cartridges (e.g. Doulton Ultracarb): typically every 6 months or approximately 2,000 litres [NEEDS VERIFICATION per product]
Whole house Big Blue cartridges: every 3 to 6 months depending on sediment load and water quality
Under-sink inline cartridges: per manufacturer recommendation — typically 6 to 12 months
Replace your cartridge sooner if you notice a reduction in flow rate, a change in taste or odour, or if your source water quality changes. For more detail, see our guide on how often to replace a water filter.
Browse Replacement Cartridges
When your cartridge is due for replacement, select the correct cartridge for your filter model and housing. Using an incorrect cartridge may affect fit, seal, and filtration performance.
It is best not to drink the first 2 to 5 litres from a new cartridge. Discard the flush water and start drinking filtered water once it runs clear.
Do I need to flush a replacement cartridge if I have used this filter before?
Yes — any new cartridge should be flushed before use, regardless of whether you have used the filter housing before. The new media is dry and needs to be saturated before it functions correctly.
My water pressure dropped after changing the cartridge. What should I do?
A slight reduction in flow rate immediately after installing a new cartridge can be normal while air purges from the media. Allow the system to run for a few minutes to clear any trapped air. If flow rate remains low, check that the cartridge is correctly installed and the housing is not overtightened. For whole house systems, check that the main supply valve is fully open.
How do I know if my cartridge is installed correctly?
Turn on the water slowly and check for leaks at the housing connection and at all fittings. No drips should be visible. For gravity-fed systems, check that water is passing through the cartridge into the lower reservoir and is not bypassing the housing.
Subscribe
Sign up to get the latest on sales, new releases and more …